DIY Home Renovation Guide for Retro Tech Lovers
Did you know that retro home renovations can increase property value by up to 20 percent, according to industry experts? This growing trend combines the timeless appeal of vintage design with the convenience of modern technology, transforming ordinary spaces into personalized showcases. Whether you dream of mid century charm or classic tech accents, getting your vision clear from the start helps you create a home that feels both nostalgic and comfortably up to date.
Quick Summary
| Key Point | Explanation |
|---|---|
| 1. Assess and Document Your Space | Walk through your home and note each room’s layout and potential for retro design. |
| 2. Create a Must-Have and Nice-to-Have List | Prioritize essential features versus decorative elements to guide your renovation and budget. |
| 3. Protect Vintage Items During Renovation | Safeguard your vintage tech by packing and storing it carefully to minimize damage during updates. |
| 4. Incorporate Unique Retro Decor | Look for vintage pieces that tell a story, and balance them with modern reproductions for authenticity. |
| 5. Test and Refine Tech Functionality | Systematically check each tech component’s performance to ensure it meets your design and functionality goals. |
Table of Contents
- Step 1: Assess Your Space And Define Your Retro Vision
- Step 2: Gather Essential Tools And Retro Materials
- Step 3: Prep The Area And Protect Vintage Items
- Step 4: Upgrade Decor With Retro Tech Accents
- Step 5: Test Functionality And Refine The Details
Step 1: Assess Your Space and Define Your Retro Vision
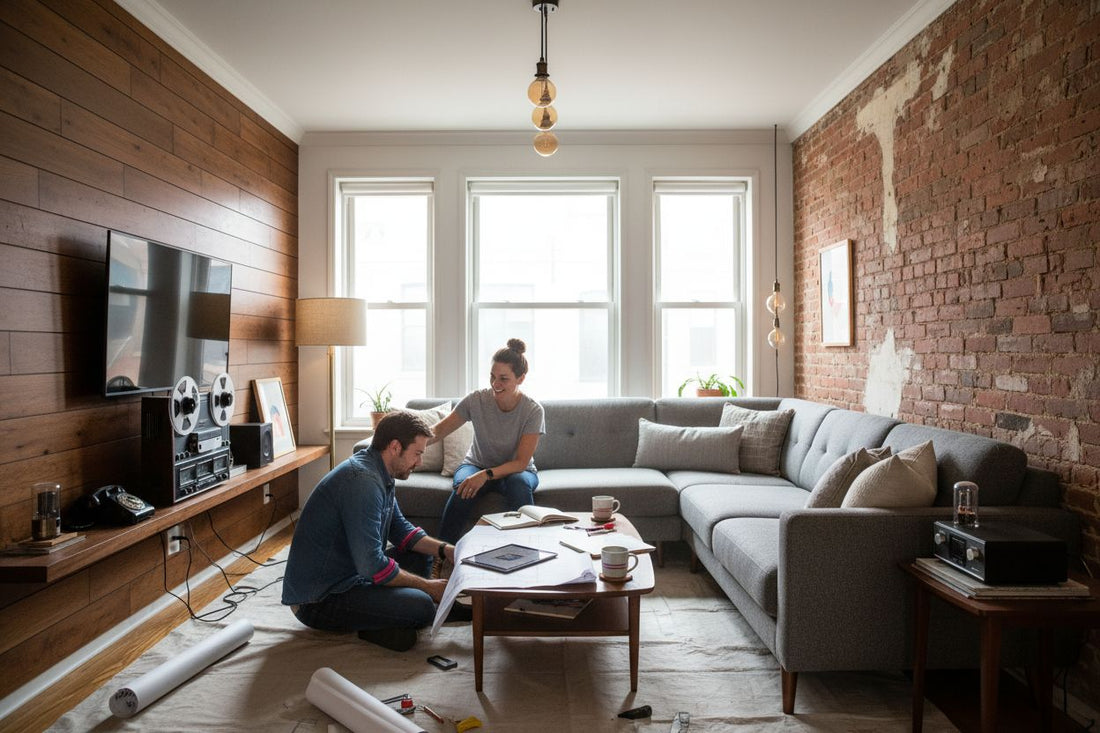
Starting a retro tech home renovation begins with understanding your space and crystallizing your vision. This crucial first step transforms random ideas into a focused strategy that guides every subsequent decision.
Start by walking through your home with fresh eyes. Grab a notebook or your smartphone and document each room’s current layout and potential. Look for architectural features that could complement a retro aesthetic: exposed brick walls, wooden floors, or unique architectural angles that scream vintage charm.
Create a vision board that captures your dream retro tech space. Check out our comprehensive guide on understanding retro-inspired interior design to help spark your creativity. According to research from Kandua, creating a mood board helps frame your aesthetic and prevents impulsive design choices that could derail your vision.
Next, develop a “Must-Have” versus “Nice-to-Have” list. This strategic approach helps you prioritize your renovation goals and allocate your budget wisely. Your “Must-Have” column might include essential tech integration points like smart lighting or vintage-inspired audio systems, while “Nice-to-Have” could feature decorative elements like classic movie posters or nostalgic display pieces.
Here’s a comparison of must-have versus nice-to-have retro renovation elements:
![]()
| Element Type | Must-Have Features | Nice-to-Have Features |
|---|---|---|
| Tech Integration | Smart lighting Vintage audio systems |
Retro gaming console Classic radio |
| Interior Design | Vintage wall colours Wooden floors |
Movie posters Nostalgic display pieces |
| Functionality | Power outlets for tech Optimised layout |
Decorative neon lights Record stands |
Pro Tip: Photograph your current space from multiple angles. These references will prove invaluable when planning your retro tech transformation.
Remember that defining your retro vision is about balance. You want a space that feels authentically vintage yet functionally modern. Think about how your chosen aesthetic will flow between rooms and complement your existing furniture and lifestyle.
With your initial assessment complete, you are now ready to move to the next exciting phase: detailed planning and design. Get ready to turn those retro dreams into reality.
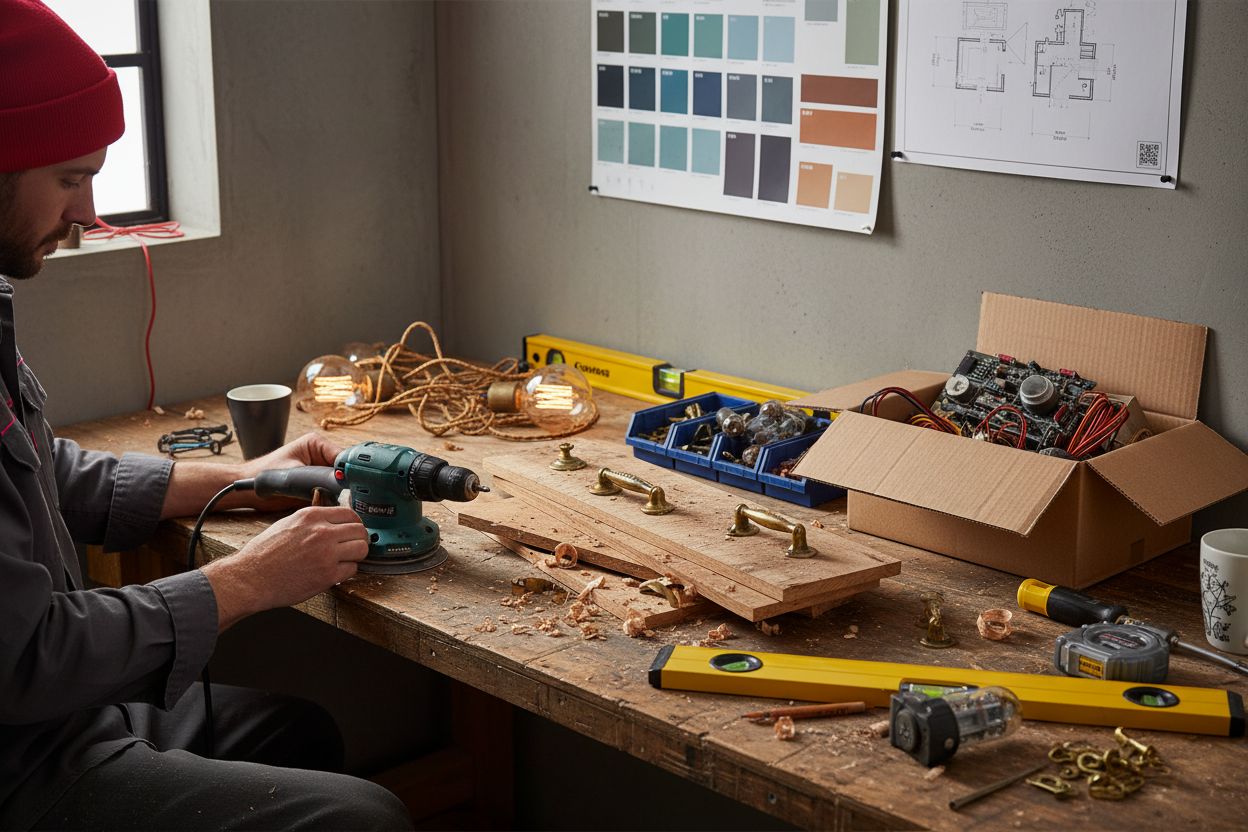
Step 2: Gather Essential Tools and Retro Materials
With your retro vision mapped out, it is time to gather the tools and materials that will transform your dream into reality. This stage is all about strategic preparation and smart sourcing that will set the foundation for your vintage tech renovation.
Start by assembling a comprehensive toolkit. You will need basic woodworking tools like a quality drill, sander, measuring tape, and level. According to Home Dzine, having the right equipment is crucial for successful DIY projects especially when working with vintage style furniture and tech integration points.
For materials, think beyond standard hardware store offerings. Explore our DIY home improvement projects guide to understand how to select materials that complement your retro aesthetic. Research from Mimiti suggests sourcing locally and considering eco friendly options. Look for low VOC paints in nostalgic colour palettes that work beautifully with South African interior design trends.
Consider hunting for authentic vintage materials at local salvage yards, antique stores, and online marketplaces. Reclaimed wood, vintage hardware like brass handles, and classic light fixtures can add genuine character to your renovation. Think wooden panels that evoke mid century modern design or classic metal components that scream technological nostalgia.
Pro Tip: Always purchase slightly more materials than your initial calculations suggest. Unexpected challenges or design tweaks often require extra supplies.
While sourcing materials, keep your budget and design vision front of mind. Not every piece needs to be an expensive original some clever reproduction or carefully restored item can work perfectly. Your goal is creating a space that feels authentically retro while remaining functional and personal.
With your tools gathered and materials collected, you are now prepared to begin the exciting transformation of your space. The next step involves careful planning and initial implementation of your retro tech vision.
Step 3: Prep the Area and Protect Vintage Items
With your tools and materials ready, the next critical step is preparing your space and safeguarding your precious vintage tech collection during the renovation process. This stage is about creating a protective bubble for your nostalgic treasures.
Start by clearing out the renovation area completely. According to research from Mimiti, packing away belongings and setting up temporary spaces helps minimize potential damage. Carefully box up your vintage electronics, audio equipment, and delicate tech pieces. Explore our guide on how to safely clean and handle old electronics to ensure proper handling during this process.
Create dedicated protection zones for your most valuable vintage items. Use soft padding like bubble wrap or specialized anti static materials for electronic components. Wrap each piece individually and store them in sealed containers away from the renovation chaos. Climate controlled areas work best for preserving delicate vintage tech.
Research from Private Property suggests considering temporary accommodation during extensive renovations. This strategy not only protects your belongings but also provides a stress free environment for managing your project. If moving out is not feasible, establish a sealed off area where dust and renovation debris cannot penetrate.
Pro Tip: Take high resolution photographs of your vintage items before packing them. These images serve as documentation for insurance purposes and help you plan their eventual display.
Consider creating a comprehensive inventory of your vintage tech collection. Note serial numbers, estimated values, and take detailed condition photographs. This documentation proves invaluable if any unexpected damage occurs during the renovation process.
With your vintage items safely secured and your space prepped, you are now ready to begin the transformative phase of your retro tech renovation.
The next stage involves carefully implementing your design vision while protecting the nostalgic heart of your project.
Step 4: Upgrade Decor with Retro Tech Accents
With your space prepped, it is time to infuse your renovation with authentic retro tech character. This stage transforms your vision from concept to tangible vintage inspired design that celebrates technological nostalgia.
Start by hunting for unique pieces that tell a story. According to research from Kandua, shopping at second hand markets and affordable local stores can uncover incredible vintage finds. Learn more about mastering retro inspired decor to understand how to curate pieces that truly capture the essence of vintage tech aesthetics.
Consider strategic lighting as a transformative design element. Research from Homemaking suggests using removable wallpapers and updated lighting fixtures to dramatically shift a room’s atmosphere. Think vintage table lamps with exposed Edison bulbs, classic floor lamps with geometric metal frames, or wall sconces that echo mid century modern design principles.
Focus on creating visual narratives through your tech accents. Vintage radios, classic transistor televisions, and restored audio equipment can serve as functional art pieces. Display these items thoughtfully create conversation points that showcase your passion for technological history.
Pro Tip: Mix authentic vintage pieces with modern reproductions to balance authenticity and practicality. Not every item needs to be an original to create an incredible retro tech atmosphere.
Remember that texture plays a crucial role in retro design. Incorporate materials like wood paneling, brushed metal surfaces, and textured fabrics that evoke different technological eras. Think about how materials can complement your vintage tech pieces and create a cohesive aesthetic.
With your decor accents strategically placed, you are now ready to integrate modern functionality into your nostalgic space. The next phase involves blending vintage aesthetics with contemporary technology seamlessly.
Step 5: Test Functionality and Refine the Details
With your retro tech accents in place, the final stage involves meticulously testing and refining every element of your renovation. This critical phase ensures that your nostalgic vision performs as beautifully as it looks.
Start by systematically testing each integrated tech component. According to research from Mimiti, keeping a detailed journal of decisions and changes helps track your progress effectively. Learn how to display your collectibles and tech installations to understand optimal placement and functionality.
Carefully evaluate the electrical and connectivity aspects of your vintage tech installations. Check that vintage audio systems, classic televisions, and restored electronics not only look authentic but also function smoothly. Test power connections, signal quality, and compatibility with modern devices.
Research from Smarten highlights the importance of maintaining a contingency fund during renovations. Set aside 10 to 20% of your budget for unexpected adjustments or refinements. This financial buffer allows you to make precise tweaks without compromising your overall design vision.
Pro Tip: Take high resolution photographs of your tech installations before final styling. These images can help you troubleshoot or make future adjustments.
Consider the ergonomics and practicality of your retro tech setup. Ensure that vintage pieces are not just decorative but also serve a functional purpose in your living space. Think about how these elements integrate with your daily routine and technology needs.
With careful testing and refinement complete, you have successfully transformed your space into a stunning retro tech sanctuary that celebrates both nostalgia and modern functionality. Your renovation is now ready to be enjoyed.
Take Your Retro Tech Renovation to the Next Level
You have just explored simple strategies for planning a truly nostalgic home transformation. If you found yourself frustrated by the challenge of sourcing authentic retro-inspired technology or the struggle of blending old-school aesthetics with today’s smart living, we understand your pain. Choosing the right vintage tech, finding statement décor, and ensuring everything still works with modern devices can feel overwhelming. The article highlighted essential tools, clever decorating tips, and how the smallest accent can shape the heart of your DIY project.
Give your space the authentic vintage finish it deserves. From classic home decor must-haves and eye-catching audio gadgets to statement gaming consoles, OnlyRetro’s curated collection is crafted for South African retro tech lovers who want style and function combined. Do not let your vision stay on your mood board. Visit OnlyRetro now and discover limited-edition retro tech and accessories that will bring your renovation ideas to life before your favourite pieces are gone.
Frequently Asked Questions
How do I start my DIY home renovation for a retro tech space?
Begin by assessing your current space and defining your retro vision. Document the layout of each room and create a vision board that captures your dream design alongside a ‘Must-Have’ versus ‘Nice-to-Have’ list to guide your renovation priorities.
What tools do I need for a retro tech home renovation?
Assemble a comprehensive toolkit that includes basic woodworking tools like a quality drill, sander, measuring tape, and level. Make sure to have these essentials ready before starting any major renovations to ensure efficiency and quality in your work.
How can I protect my vintage tech during the renovation?
Safeguard your vintage tech by clearing out the renovation area completely and packaging delicate items in soft padding like bubble wrap. Create dedicated protection zones for these items to minimize potential damage, especially in dust-prone areas during renovations.
What decor elements should I focus on to achieve a retro tech aesthetic?
To create a retro tech aesthetic, focus on unique vintage pieces, strategic lighting, and textures that reflect different technological eras. Mix authentic vintage items with modern reproductions to maintain functionality while creating an appealing decor balance.
How do I ensure the functionality of my retro tech installations?
Test each integrated tech component systematically to ensure they function smoothly. Check the electrical connections, signal quality, and compatibility with modern devices for all your retro tech to ensure a successful renovation.
What should I do if unexpected issues arise during my renovation?
Set aside a contingency fund of 10 to 20% of your budget for unexpected adjustments or refinements. This financial buffer allows you to address any unforeseen challenges without straying from your design vision.