DIY Home Improvement Projects: Create Your Vintage Space
Vintage-inspired home makeovers are catching on like wildfire, with more people craving the nostalgia of retro décor. But one detail will surprise you. Mid-century colour palettes use mustard yellows and olive greens that can instantly transport a room back in time. Most folks think pulling off the vintage look is just about scoring the right couch or lamp, but the secret is all in the planning and careful style selection—long before you buy a single thing.
Table of Contents
- Step 1: Assess Your Space And Define Your Style
- Step 2: Gather Essential Tools And Materials
- Step 3: Choose And Execute Your First Project
- Step 4: Incorporate Vintage Gadgets For A Retro Touch
- Step 5: Verify Quality And Make Adjustments
Quick Summary
| Key Point | Explanation |
|---|---|
| 1. Assess your space thoroughly | Evaluate your space room-by-room, noting features and limitations to inform your renovation strategies. |
| 2. Define your vintage style clearly | Research design eras to identify specific aesthetics and materials that resonate with your vision. |
| 3. Gather essential tools and materials | Create a comprehensive toolkit and source period-appropriate materials for effective restoration. |
| 4. Start with a manageable project | Choose a smaller restoration task to build confidence and skills without overwhelming yourself. |
| 5. Verify quality and make adjustments | Conduct a detailed assessment of your project, ensuring both aesthetic appeal and functional integrity. |
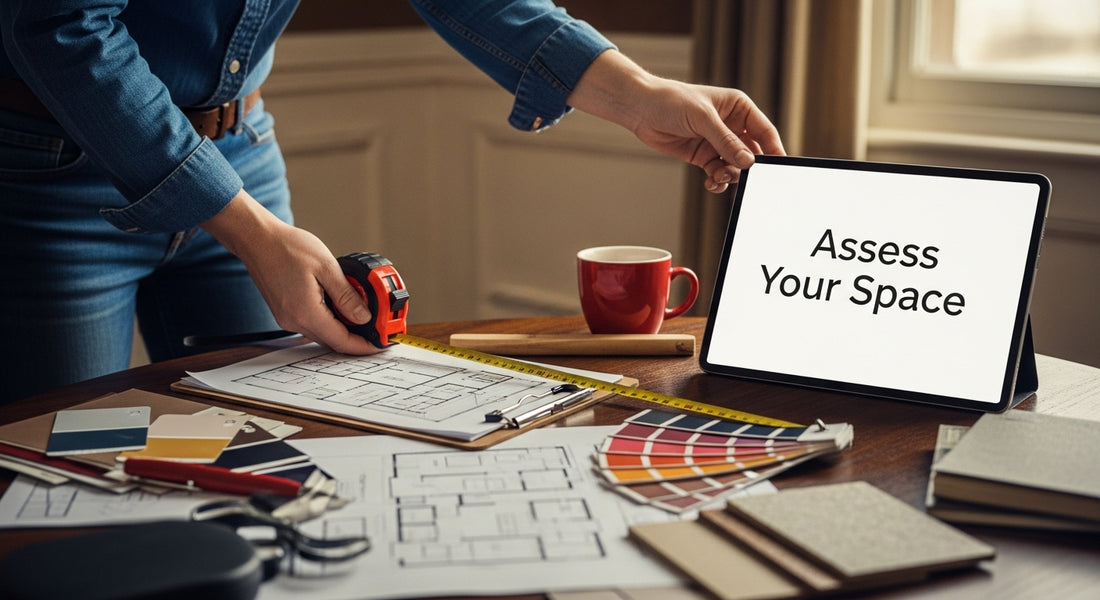
Step 1: Assess Your Space and Define Your Style
Creating a vintage-inspired home requires strategic planning and a clear vision of your desired aesthetic. Before diving into any diy home improvement projects, you need to thoroughly evaluate your existing space and understand the style that resonates with your personal taste. This initial assessment will serve as the foundation for transforming your interior into a nostalgic sanctuary.
Begin by conducting a comprehensive room-by-room evaluation. Walk through each space with a critical eye, examining architectural features, existing color schemes, natural lighting, and spatial configurations. Take detailed measurements and create a rough sketch or digital floor plan to understand your room’s potential. Consider structural limitations like window placements, electrical outlets, and load-bearing walls that might impact your renovation strategy.
Defining your vintage style demands careful research and inspiration gathering. Explore different retro design eras such as mid-century modern, art deco, industrial, or 1970s bohemian. Each period offers unique characteristics that can dramatically influence your home’s ambiance. Look through design magazines, vintage photography, and online resources to identify specific elements that speak to you. Read our guide on understanding vintage inspired interior design to gain deeper insights into selecting the perfect nostalgic aesthetic.
Pay special attention to color palettes typical of your chosen era. Vintage styles often feature distinctive color combinations that can instantly transport a space back in time. Mid-century modern might showcase mustard yellows and olive greens, while art deco could incorporate rich jewel tones and geometric patterns. Collect paint swatches, fabric samples, and reference images that capture the essence of your preferred vintage period.
As you assess your space, document potential challenges and opportunities. Older homes might have unique architectural details like original hardwood floors or decorative moldings that can be highlighted. Newer constructions may require more creative interventions to achieve an authentic vintage feel. Your goal is to develop a cohesive plan that seamlessly blends modern functionality with nostalgic design elements.
By the end of this assessment, you should have a clear vision of your vintage style, a detailed room layout, and a comprehensive understanding of the design era you wish to recreate. This preparation will set the stage for successful diy home improvement projects that transform your living space into a timeless, retro-inspired haven.
Step 2: Gather Essential Tools and Materials
Successful diy home improvement projects hinge on proper preparation, and gathering the right tools and materials is crucial for transforming your space into a vintage-inspired haven. This step requires careful planning and strategic selection of equipment that will help you execute your design vision effectively and efficiently.
Start by creating a comprehensive inventory of tools based on the specific vintage renovation techniques you plan to implement. Your basic toolkit should include precision measuring instruments, quality paintbrushes, sandpaper with varying grits, painter’s tape, drop cloths, and a reliable power drill. Invest in high-quality tools that will provide consistent performance and durability throughout your project. Professional-grade equipment might seem more expensive initially, but they will save you time and frustration in the long run.
Learn more about vintage style decorating techniques to understand which specialized tools might enhance your restoration process. For wood surfaces, consider acquiring wood stains, sealants, and restoration compounds that can help you achieve authentic vintage finishes. Metalwork might require specialized rust removal solutions, wire brushes, and protective coatings designed for antique preservation.
Materials selection is equally important when recreating a specific vintage aesthetic. Research the characteristic materials of your chosen design era and source components that match those specifications. Look for period-appropriate paint colors, wallpapers, fabrics, and decorative elements that align with your design vision. Vintage reproduction stores, architectural salvage yards, and specialized online marketplaces can be excellent resources for finding authentic or authentically styled materials.
Consider creating a dedicated workspace for your project that allows organized tool storage and provides sufficient room for material preparation. This space should be well-ventilated, have adequate lighting, and include stable work surfaces. Protect your flooring with drop cloths and ensure you have proper personal protective equipment like safety glasses, dust masks, and work gloves.
Budget considerations are crucial during material gathering. Compare prices across multiple suppliers, look for sales, and consider purchasing gently used tools from reputable sources. Some diy enthusiasts find excellent deals at second-hand stores or online marketplaces. Keep receipts and maintain flexibility in your budget for unexpected expenses or additional materials that might enhance your vintage restoration project.
By the conclusion of this step, you should have a fully stocked toolkit, carefully selected materials, and a clear understanding of the resources required to bring your vintage design vision to life. Proper preparation sets the foundation for a successful and satisfying home improvement journey.
The table below summarises essential tools and common materials for vintage-inspired DIY projects, along with their purpose to help you prepare your toolkit effectively.
| Tool/Material | Purpose | Era/Project Notes |
|---|---|---|
| Precision measuring tools | Accurate measurements for layouts and restoration | All projects |
| Quality paintbrushes | Smooth application of paints and stains | Mid-century, art deco, furniture finishes |
| Sandpaper (various grits) | Smoothing surfaces and prepping for painting/staining | Furniture, woodwork restoration |
| Painter’s tape | Clean paint edges and protection of adjacent areas | Wall treatments, wood detail work |
| Power drill | Efficient drilling and assembly | Larger projects, hanging, repairs |
| Drop cloths | Protects workspace and floors | All messy or paint-based projects |
| Period-appropriate paint | Maintains authenticity of colour schemes | Matched to chosen vintage era |
| Wood stains/restore agents | Achieves authentic vintage or aged wood finishes | Furniture and fixture restoration |
Step 3: Choose and Execute Your First Project
Selecting and implementing your inaugural diy home improvement project requires strategic planning and a measured approach. Your first vintage restoration endeavor should serve as a confidence-building exercise that introduces you to complex techniques without overwhelming your skills or resources. Start with a manageable, contained project that allows you to experiment and learn without risking significant investment or potential structural complications.
Consider beginning with smaller vintage restoration tasks like refinishing a piece of furniture, creating a retro-inspired wall feature, or transforming a decorative element. These initial projects provide valuable hands-on experience and help you develop technical skills while building momentum for more ambitious renovations.
Look for pieces with good structural integrity but showing signs of wear that can be beautifully transformed through careful restoration techniques.
Explore our comprehensive guide on vintage style decorating to gain inspiration and understand nuanced restoration approaches. Before commencing your project, thoroughly clean and prepare your workspace. Lay down protective coverings, organize your tools within easy reach, and ensure proper ventilation. Meticulously inspect the item or area you plan to restore, documenting its current condition through photographs and detailed notes.
Prepare a step-by-step restoration plan that breaks down the process into manageable stages. If you are refinishing furniture, this might involve careful sanding, applying primer, selecting authentic period-appropriate paint or stain, and adding protective sealants. For wall treatments, consider techniques like distressing, color washing, or applying vintage-inspired wallpaper that captures the essence of your chosen design era.
Take a measured and patient approach during execution. Work systematically and allow sufficient drying time between stages of your project. Document your progress through photographs, which can serve as both a personal record and potential inspiration for future restoration efforts. Be prepared to adapt your technique if initial attempts do not yield the desired results. Vintage restoration is as much an art as a technical skill, and flexibility is key to achieving authentic, beautiful outcomes.
Critical verification steps include assessing the aesthetic alignment with your original vintage design vision, checking the structural integrity of your restoration, and ensuring the piece functions as intended. Step back periodically during the project to evaluate your progress objectively. A successful first project should not only look visually appealing but also feel true to the era you are celebrating.

By completing this initial restoration, you will have gained practical experience, developed confidence in your diy skills, and taken a significant step toward creating a cohesive vintage-inspired living space.
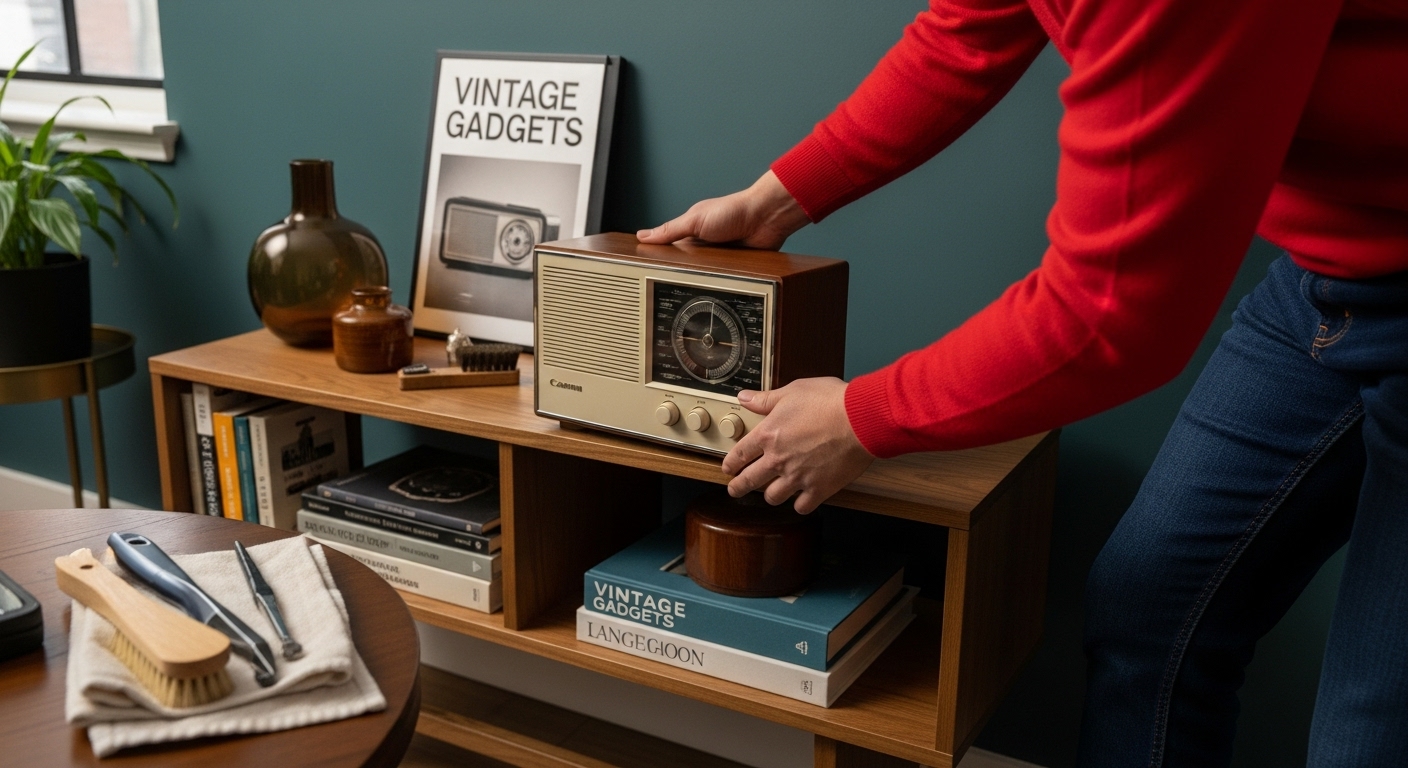
Step 4: Incorporate Vintage Gadgets for a Retro Touch
Vintage gadgets are more than decorative elements they are storytelling pieces that breathe authentic character into your living space. Integrating these nostalgic technological artifacts requires a strategic approach that balances aesthetic appeal with functional design. Your goal is to curate a collection that reflects the technological spirit of your chosen era while maintaining a cohesive and intentional interior environment.
Begin by researching iconic gadgets representative of your preferred vintage period. Mid-century modern enthusiasts might explore classic transistor radios, rotary telephones, or early television sets. Art deco fans could seek out sleek bakelite devices and streamlined communication technologies from the 1930s and 1940s. Authenticity matters more than perfection when selecting these pieces. Look for items with genuine historical significance or high-quality reproductions that capture the original design essence.
Learn how to layer lighting for a cozy retro tech vibe to complement your vintage gadget display. Consider the visual and functional placement of these technological artifacts. Display areas should provide proper visibility while protecting delicate components from direct sunlight or humidity. Shelving units, dedicated display cases, or carefully curated tabletop arrangements can transform these gadgets into conversation-starting focal points.
Purchasing vintage gadgets demands careful consideration. Examine potential acquisitions for structural integrity, checking for signs of significant wear or irreparable damage. Online marketplaces, antique stores, and specialized vintage technology collectors can be excellent sources. When possible, seek items that can be restored or remain functional. Some vintage radios or record players can be professionally refurbished to provide both aesthetic and practical value.
Maintenance is crucial for preserving the condition of your vintage technological collection. Develop a regular cleaning and preservation routine that uses specialized techniques appropriate for delicate electronic components. Soft brushes, compressed air, and gentle cleaning solutions designed for vintage electronics will help maintain the appearance and functionality of your cherished pieces. Consider consulting restoration experts for guidance on specific preservation techniques.
Beyond visual appeal, think about how these gadgets can integrate into your contemporary lifestyle. Some vintage technologies can be adapted with modern modifications, like bluetooth-enabled record players or restored radios with updated internal components. These hybrid pieces bridge historical design and current technological convenience, creating unique conversation pieces that serve both aesthetic and functional purposes.
Successful vintage gadget incorporation transforms your space from a simple room into a narrative-rich environment that celebrates technological evolution. Each carefully selected piece contributes to a larger story of design, innovation, and cultural memory.
Step 5: Verify Quality and Make Adjustments
The final stage of your diy home improvement project demands a meticulous and objective approach to quality verification. This critical phase transforms your raw restoration efforts into a polished, professional-looking vintage space. Quality verification is not about perfection, but about intentional craftsmanship that honors the historical integrity of your design while meeting contemporary aesthetic standards.
Begin by stepping back and conducting a comprehensive visual assessment of your completed project. Natural and artificial lighting will reveal nuances that might have been overlooked during the restoration process. Examine surfaces from multiple angles, checking for consistency in color, texture, and finish. Pay particular attention to transitions between restored and original elements, ensuring a harmonious visual flow that doesn’t compromise the vintage character you’ve carefully cultivated.
Understand the principles of retro-inspired interior design to refine your critical evaluation techniques. Functional testing is equally crucial as visual inspection. For restored furniture or vintage gadgets, verify that mechanical components operate smoothly. Test drawers, hinges, electrical connections, and moving parts to confirm they meet both aesthetic and practical requirements. Small adjustments can significantly elevate the overall quality of your restoration.
Documentation plays a pivotal role in this verification stage. Create a detailed photographic record comparing before and after states of your project. These images serve multiple purposes documenting your restoration journey, identifying potential areas for future improvement, and providing a tangible record of your craftsmanship. Consider maintaining a restoration journal that tracks challenges encountered, techniques employed, and lessons learned throughout the process.
Address imperfections with a strategic and patient approach. Minor inconsistencies are often part of the vintage restoration charm, but significant flaws require targeted interventions. Develop a hierarchical adjustment strategy that prioritizes structural integrity and functionality over cosmetic perfection. Sometimes, subtle irregularities contribute to the authentic character of vintage pieces, telling a rich story of age and careful restoration.
Consult expert resources or experienced vintage restoration professionals if you encounter complex challenges during your quality verification process. Online forums, local craft workshops, and specialized restoration communities can provide invaluable insights and troubleshooting advice. Be open to constructive feedback and view each adjustment as an opportunity for skill refinement.
By the conclusion of this verification stage, your vintage-inspired space should reflect a thoughtful balance between historical authenticity and contemporary livability. Each carefully considered adjustment contributes to a cohesive, personalized environment that celebrates the unique narrative of vintage design.
This table provides a practical project checklist to verify the quality of your finished vintage DIY improvement and ensure your space achieves both authenticity and function.
| Quality Checkpoint | What to Evaluate | Action/Adjustment Advice |
|---|---|---|
| Visual Consistency | Surface finish, colour and texture alignment | Tidy up inconsistencies, touch up paint |
| Structural Integrity | Sturdiness and stability of restored items | Reinforce or repair loose/damaged areas |
| Functional Testing | Moving parts, electronics, daily usability | Test drawers, gadgets, fix any non-working |
| Authenticity of Elements | Era-accurate style and material use | Replace inauthentic parts if needed |
| Maintenance Readiness | Is routine care manageable? | Set up cleaning schedule, address issues |
| Documentation | Before/after photos, notes for future reference | Complete photo log and journal |
| Final Adjustments | Minor flaws that impact the look or use | Apply targeted corrections |
Complete Your Vintage Transformation with OnlyRetro
You have taken the first steps in designing your own vintage-inspired home and now you are eager to bring authenticity into every detail. The journey from planning to executing your DIY home improvement projects can be challenging, especially when it comes to sourcing genuine retro accents and nostalgic tech that fit the era and feeling you want to capture. Many South African homeowners struggle to find quality vintage gadgets or décor that not only look the part but also combine classic style with modern convenience. Sourcing unique items that match your chosen design era, finding functional technology with authentic appeal, and finishing your space with the right statement pieces can be frustrating and time-consuming.
Elevate your vintage space with the curated collection from OnlyRetro. Discover our wide range of retro-themed technology products, smart gadgets, audio equipment, striking watch collections, and vintage-inspired home décor. Each item is chosen to add personality and functionality to your home so you can focus on the creative aspects of your restoration. Why wait to bring your vision to life? Visit OnlyRetro now and explore products crafted for tech lovers and vintage enthusiasts in South Africa. The finishing touch for your space is only a click away.
Frequently Asked Questions
What are the key steps to assess my space for a vintage home renovation?
To assess your space, conduct a room-by-room evaluation, examine architectural features, color schemes, and lighting. Take measurements and create a layout, while considering structural limitations. Research different vintage styles to clarify your aesthetic vision.
Which tools are essential for DIY vintage home improvement projects?
Essential tools include measuring instruments, quality paintbrushes, sandpaper, painter’s tape, drop cloths, and a power drill. High-quality tools will ensure consistent performance and durability throughout your restoration process.
How can I choose the first project for my vintage home transformation?
Start with a manageable project that builds confidence, such as refinishing a piece of furniture or creating a retro wall feature. Choose items with structural integrity but showing signs of wear, allowing you to experiment with restoration techniques.
What should I consider when incorporating vintage gadgets into my home decor?
Research iconic gadgets that represent your chosen vintage period for authenticity. Ensure proper placement for visibility and protection, and consider maintenance routines to preserve their condition. Some vintage items can be updated for modern functionality while maintaining their nostalgic charm.