
Transform Your Space: DIY Home Renovation Ideas for 2025
Planning a DIY home renovation sounds exciting and overwhelming all at once. Most people leap straight for a paint roller and power tools, expecting instant transformation. But here is something surprising. Almost 60 percent of renovation mistakes can be traced back to poor space assessment and unclear goals. Knowing exactly where to start and what you want lays the groundwork for a successful project long before the first hole is drilled.
Table of Contents
- Step 1: Assess Your Space And Define Your Goals
- Step 2: Gather Inspiration And Create A Design Plan
- Step 3: Prepare Your Tools And Materials
- Step 4: Execute Your Renovation Projects
- Step 5: Evaluate And Fine-Tune Your Work
Quick Summary
| Key Point | Explanation |
|---|---|
| 1. Assess your space to set goals | Understand your area’s layout and function to establish practical renovation objectives that reflect your personal style and needs. |
| 2. Gather inspiration to guide design | Collect ideas through mood boards and digital collections to help refine your design direction and visualize your vision effectively. |
| 3. Prepare tools and materials meticulously | Create a comprehensive inventory to ensure you have all necessary equipment, avoiding costly delays and mistakes during your renovation. |
| 4. Execute renovations methodically | Tackle major tasks first, document progress, and maintain an organized workspace to ensure an efficient and effective renovation process. |
| 5. Evaluate your work thoroughly | Conduct a detailed inspection post-renovation to identify and address imperfections, ensuring that the final results match your initial design vision. |
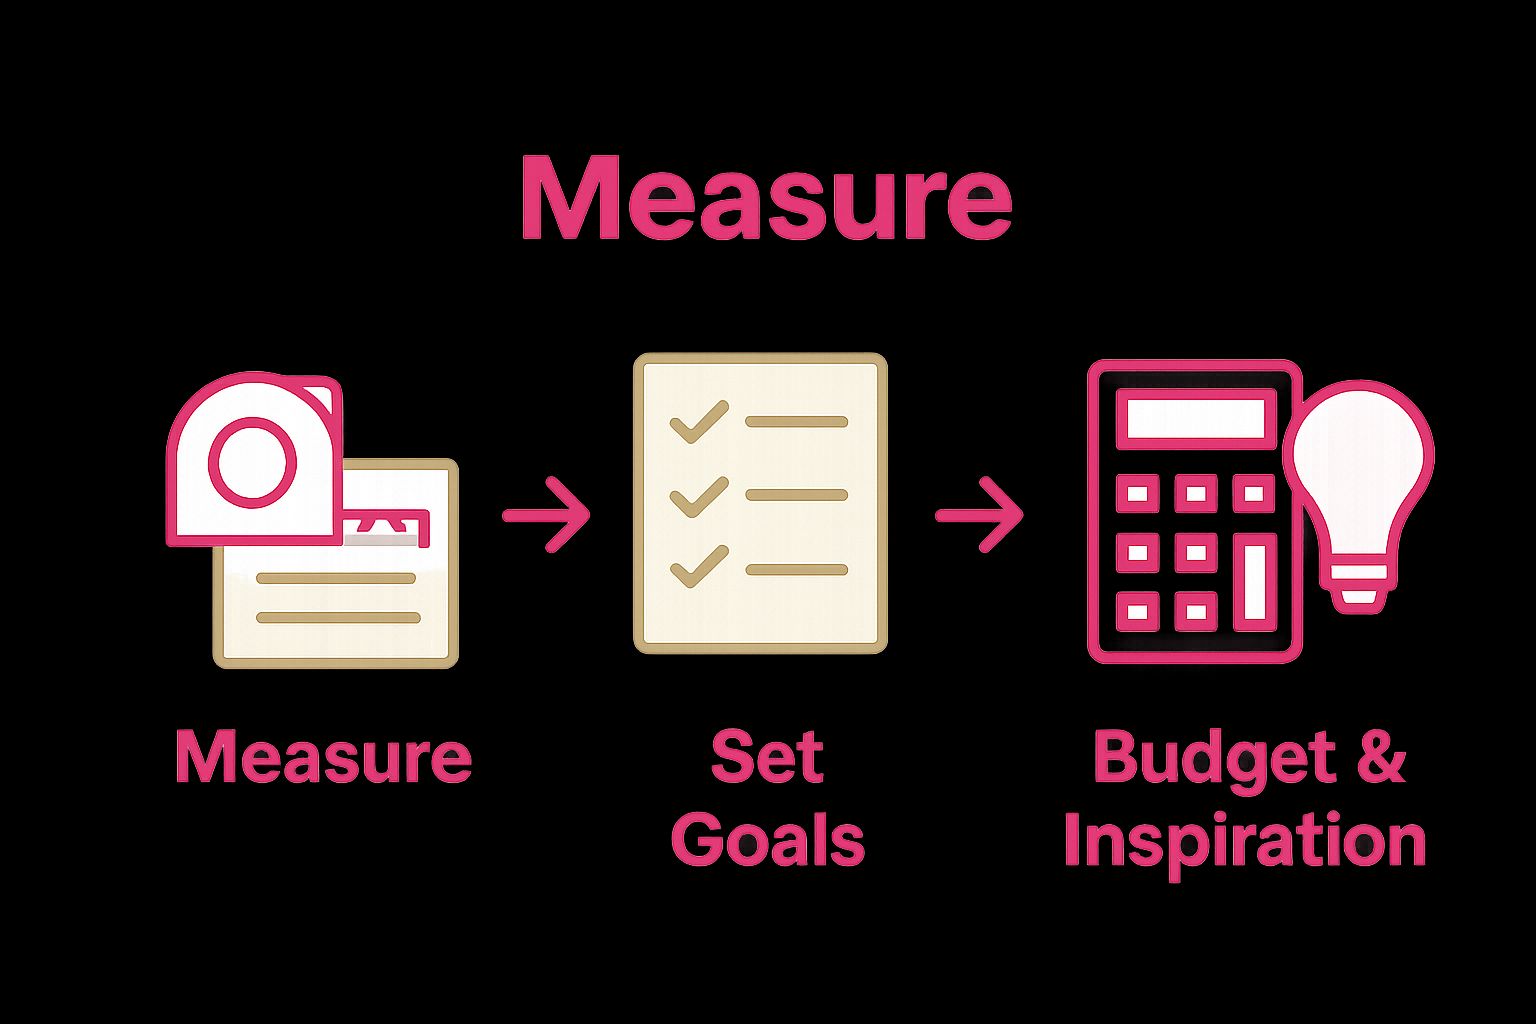
Step 1: Assess Your Space and Define Your Goals
Before diving into any DIY home renovation project, understanding your space and establishing clear goals is crucial for success. This initial assessment phase will set the foundation for transforming your living environment with precision and purpose.
Start by walking through your home with fresh eyes, critically examining each room’s current layout, functionality, and potential. Grab a measuring tape, notebook, and smartphone to document your observations. Measure each room’s dimensions precisely, noting architectural features like windows, doorways, and existing structural elements that might impact your renovation plans. Pay special attention to natural light sources, electrical outlets, and potential challenges that could complicate your design vision.
Consider your lifestyle and specific needs when defining renovation goals. Are you seeking increased functionality, aesthetic improvement, or both? Create a comprehensive list of desired outcomes that align with your practical requirements and design preferences. This might include creating more storage space, improving room flow, updating outdated design elements, or enhancing energy efficiency. Your goals should balance personal style with practical considerations.
For comprehensive guidance on incorporating vintage design elements into your renovation, check out our vintage style decorating guide. Understanding how to blend modern functionality with nostalgic aesthetics can help you create a truly unique living space.
A successful space assessment involves honest evaluation of your budget, timeline, and personal skill level. Be realistic about what you can accomplish independently versus what might require professional assistance. Some renovation tasks demand specialized skills or permits, so research local regulations and your own capabilities thoroughly. Take photographs of your current space to help visualize potential transformations and track progress throughout your renovation journey.
By the end of this assessment phase, you should have:
- Detailed room measurements
- A clear list of renovation goals
- Identified potential challenges and opportunities
- Preliminary budget estimates
- Initial design inspiration and reference images
This comprehensive approach ensures your DIY home renovation begins with a solid, well-researched foundation, setting the stage for a successful transformation that reflects your unique vision and meets your practical needs.
Step 2: Gather Inspiration and Create a Design Plan
With your initial space assessment complete, it is time to transform your vision into a tangible design plan. This critical phase involves collecting inspiration, researching design possibilities, and developing a comprehensive strategy that will guide your entire renovation journey.
Begin by creating a digital and physical inspiration collection. Pinterest boards, Instagram saved folders, and physical mood boards are excellent tools for curating design ideas. Screenshot interesting design elements, color schemes, and architectural details that resonate with your personal aesthetic. Professional interior design websites and home renovation magazines can provide high-quality visual references that spark creativity and help you refine your design direction.
Learn how to enhance your space with strategic lighting techniques that complement your renovation goals. Lighting plays a crucial role in transforming a space’s atmosphere and functionality, so consider how different lighting approaches can support your design vision.
As recommended by architectural preservation experts, document your design journey meticulously. Sketch rough layouts, create digital renderings, or use home design software to visualize potential transformations. These planning tools help you anticipate challenges, estimate material requirements, and communicate your vision clearly.
Your design plan should include several key components:
- Detailed room layout sketches
- Color palette selections
- Material and finish preferences
- Budget allocation for each design element
- Estimated timeline for implementation
- Potential DIY versus professional intervention areas
Remember that flexibility is essential during the design planning stage. Unexpected discoveries during your renovation might require adjustments to your original concept. Maintain an open mindset and be prepared to adapt your plan as you progress. Consult with design professionals or experienced DIY renovators if you encounter complex design challenges or need expert validation of your approach.
By the conclusion of this step, you should have a comprehensive design plan that serves as a roadmap for your home transformation. This document will be your guiding reference, helping you stay focused, organized, and inspired throughout the renovation process.
Step 3: Prepare Your Tools and Materials
Successful home renovation projects hinge on meticulous preparation, and gathering the right tools and materials is a critical step that can make or break your DIY journey. Proper preparation not only streamlines your workflow but also helps prevent costly mistakes and unexpected interruptions.
Create a comprehensive inventory of required tools and materials based on your design plan and specific renovation requirements. Professional-grade tools might seem expensive initially, but investing in quality equipment can save you time, frustration, and potential rework expenses. Visit local hardware stores or reputable online suppliers to source your equipment, comparing prices and reading user reviews to ensure you select reliable products.
Essential tools for most home renovation projects typically include:
- Measuring tape and laser level
- Power drill with multiple drill bit sets
- Cordless screwdriver
- Hammer and rubber mallet
- Utility knife and replacement blades
- Safety equipment (goggles, work gloves, dust masks)
- Drop cloths and painter’s tape
- Multiple sizes of paintbrushes and rollers
Materials selection requires careful consideration of your specific project goals and budget constraints. Research material compatibility and durability before making purchases. Some renovation tasks demand specialized materials that might require advanced ordering or specific handling. Consider factors like moisture resistance, thermal performance, and aesthetic compatibility with your existing space.
Our guide on vintage style decor can help you select materials that complement your design vision while maintaining practical functionality. Understanding how different materials interact and age can prevent future renovation challenges.
Budget management is crucial during this preparation stage. Create a detailed spreadsheet tracking tool and material costs, allowing a 10-15% buffer for unexpected expenses. Purchase materials in stages if your budget is tight, prioritizing essential items first. Some home improvement stores offer rental options for expensive tools, which can be more economical for one-time use.
Organize your workspace before starting the renovation. Clear a dedicated area for tool storage, material staging, and project work. Invest in sturdy storage containers or toolboxes to keep equipment protected and easily accessible.
To help you prepare efficiently, here is a table outlining essential tools for most DIY home renovations, their main purpose, and tips on use.
| Tool | Main Purpose | Tips for Use |
|---|---|---|
| Measuring tape & laser level | Precise measurements & level alignments | Double-check measurements to avoid costly mistakes |
| Power drill with drill bit sets | Drilling and fixing various materials | Start with a low speed for accuracy |
| Cordless screwdriver | Fastening screws with ease | Keep spare batteries charged |
| Hammer & rubber mallet | Driving nails or assembling without damage | Use the mallet for delicate finishes |
| Utility knife & blades | Cutting materials (carpet, drywall, packaging) | Replace dull blades for clean cuts |
| Safety equipment (goggles, gloves, dust mask) | Personal protection | Wear PPE at all times, especially when sawing or sanding |
| Drop cloths & painter’s tape | Protecting surfaces during painting or demolition | Remove tape promptly for clean lines |
| Paintbrushes & rollers (various sizes) | Applying paint evenly to large and small areas | Clean after each use for longevity |
By the end of this preparation phase, you should have a fully stocked toolkit, organized workspace, and a clear understanding of the materials required for your renovation project. Thorough preparation sets the stage for a smooth, efficient, and successful home transformation.
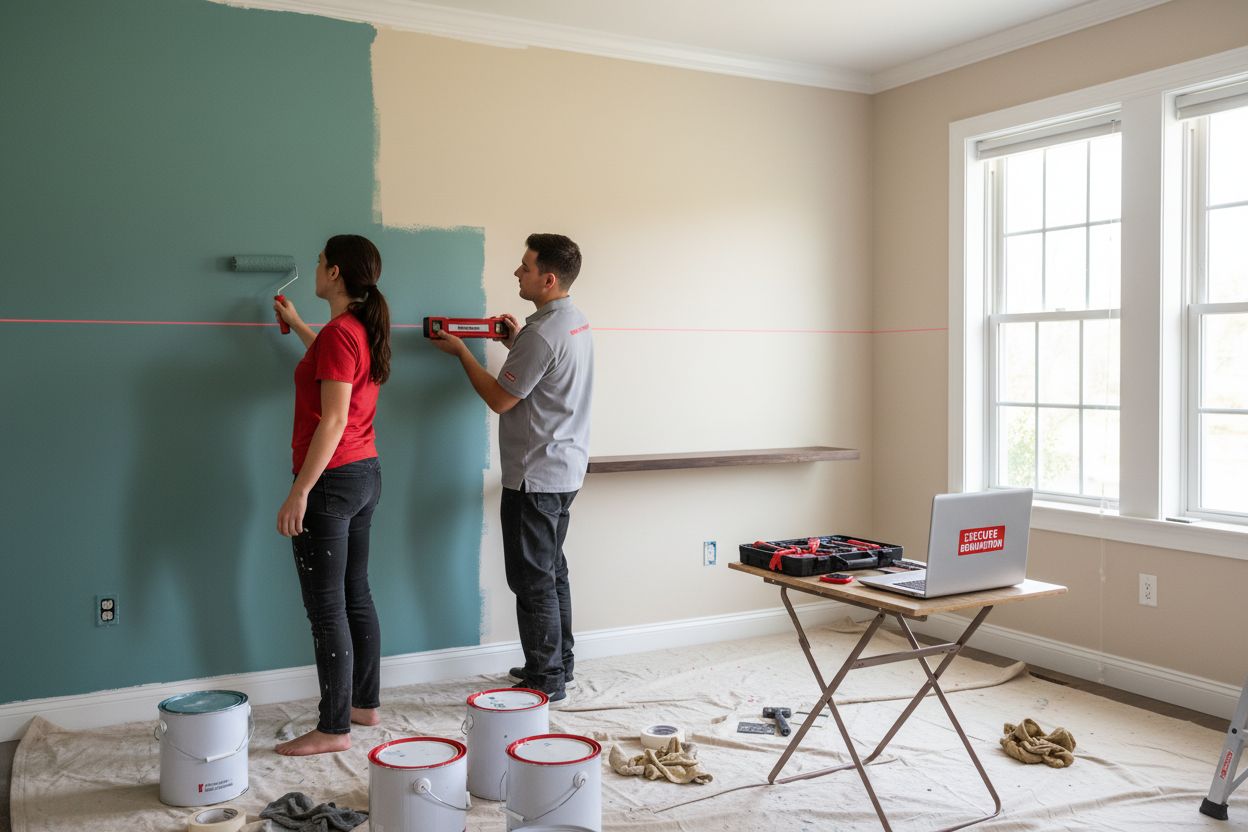
Step 4: Execute Your Renovation Projects
With thorough planning and preparation complete, you are now ready to transform your space through strategic renovation execution. This pivotal stage requires patience, precision, and a systematic approach to bringing your design vision to life.
Start with the most disruptive renovation tasks first, which typically involve structural modifications, electrical work, or major surface alterations. This approach minimizes repeated cleanup and allows smoother progression through subsequent project phases. Work methodically, tackling one area or project component at a time to maintain focus and prevent overwhelming yourself.
Implement a robust project management strategy by breaking down complex renovation tasks into smaller, manageable segments. Create a detailed timeline with realistic milestones, allowing flexibility for unexpected challenges. Document your progress through photographs and written notes, tracking each completed task and recording any modifications to your original design plan.
Explore our guide on layering lighting techniques to enhance your renovation’s aesthetic and functional outcomes. Strategic lighting can dramatically transform spaces, complementing your renovation efforts and creating desired atmospheric effects.
Key project execution considerations include:
- Maintaining a clean and organized workspace
- Protecting adjacent areas from dust and damage
- Ensuring proper ventilation during painting or chemical treatments
- Taking regular breaks to prevent fatigue and maintain precision
- Double-checking measurements before cutting or installing materials
- Keeping tools clean and properly maintained throughout the project
According to architectural preservation guidelines, proceed with careful consideration of your space’s existing architectural integrity. Some renovation techniques might require specialized approaches to preserve historical elements while introducing modern improvements.
Be prepared to troubleshoot unexpected complications. Complex renovation projects rarely proceed exactly as planned, so maintain a flexible mindset and problem-solving approach. When facing challenges, pause and reassess your strategy. Consulting online tutorials, professional forums, or seeking advice from experienced DIY renovators can provide valuable insights for overcoming obstacles.
Successful project execution involves continuous quality control. After completing each renovation segment, conduct thorough inspections to ensure proper installation, alignment, and finish. Take time to step back and evaluate your work objectively, making adjustments as necessary. This meticulous approach guarantees a professional-looking result that aligns with your original design vision.
Step 5: Evaluate and Fine-Tune Your Work
The final stage of your DIY home renovation journey involves critical evaluation and strategic refinement. This crucial phase transforms your raw renovation efforts into a polished, professional-looking space that reflects your original design vision and personal aesthetic.
Conduct a comprehensive walkthrough of your renovated space, examining each area with a critical yet constructive eye. Use natural and artificial lighting conditions to reveal potential imperfections, color inconsistencies, or structural nuances that might have been overlooked during the initial renovation process. Take photographs from multiple angles to help you objectively assess your work, comparing the current state with your original design plan.
Discover productivity techniques that can help you systematically improve your renovation outcomes, ensuring a methodical approach to identifying and addressing any remaining refinements.
Key evaluation criteria should include:
- Structural integrity and alignment of new installations
- Paint and finish smoothness and consistency
- Color harmony and aesthetic balance
- Functional efficiency of redesigned spaces
- Overall comfort and usability of renovated areas
- Adherence to initial budget and design constraints
According to architectural preservation guidelines, pay special attention to maintaining the fundamental character of your space while introducing modern improvements. Small adjustments can make substantial differences in the overall quality and perception of your renovation project.
Address minor imperfections systematically. Use touch-up paint, adjust hardware alignments, and smooth out uneven surfaces. Professional-looking renovations often emerge from meticulous attention to detail. Consider investing in specialized tools like edge sanders, precision cutting implements, and high-quality finishing materials to elevate your work’s overall quality.
Document your final results comprehensively. Create a detailed photographic record of your renovation journey, capturing before, during, and after states. This documentation serves multiple purposes beyond personal satisfaction—it can be valuable for future reference, potential property valuation, and sharing inspiration with other DIY enthusiasts.
Remember that true renovation success extends beyond visual aesthetics. Evaluate the functional improvements your project has introduced. Does the space now serve its intended purpose more effectively? Have you successfully addressed the initial challenges that prompted your renovation? Reflect on these questions to measure the true impact of your hard work and dedication.
Here is a quick room-by-room checklist to help you evaluate and fine-tune your renovation work, ensuring each area meets your standards before considering the project complete.
| Room/Area | Checklist Item | Completed |
|---|---|---|
| Living Room | Paint finish even and free of drips | |
| Kitchen | Cabinets and hardware properly aligned | |
| Bathroom | All fixtures installed and sealed | |
| Bedrooms | Power points and lights functioning | |
| Passage/Hall | Flooring transition smooth and secure | |
| All areas | Rubbish and dust cleared away | |
| General | Budget and goals reviewed vs. outcome |
Bring Retro Charm Into Your 2025 Renovation
After hours spent planning, measuring, and refining your DIY home renovation, it is frustrating when you cannot find decor or tech accessories that truly reflect your vision for a nostalgic yet functional space. You want more than generic solutions—you need products with character that harness the vintage-inspired aesthetics discussed in this article, while still supporting your modern lifestyle.
Give your new space the finishing touch it deserves. Find retro-style smart gadgets, device protection covers, audio accessories, and home decor with real personality at OnlyRetro. Whether you aim to blend mid-century flair with new tech or highlight your personal love for vintage, you will uncover unique, conversation-starting pieces for every room. Don’t miss out on the chance to turn your renovation into a true reflection of your taste. Start exploring OnlyRetro’s curated selection of nostalgic tech and decor now and complete your transformation with style.
Frequently Asked Questions
What are the first steps to take before starting a DIY home renovation?
Begin by assessing your space and defining your goals. Walk through your home to examine the layout, measure dimensions, and document any architectural features. Create a detailed list of desired outcomes while considering your budget and skill level.
How can I gather design inspiration for my renovation project?
You can collect inspiration by creating digital boards on platforms like Pinterest and Instagram, as well as physical mood boards. Look for ideas in interior design websites, home renovation magazines, and by documenting design elements that resonate with your style.
What tools and materials are essential for home renovation projects?
Essential tools include a measuring tape, power drill, cordless screwdriver, and safety equipment. For materials, focus on compatibility with your design goals and durability. Make sure research is done on material properties such as moisture resistance and thermal performance.
How can I ensure a successful execution of my renovation project?
Start with the most disruptive tasks and work methodically by breaking down projects into smaller segments. Maintain a clean workspace, double-check measurements, and document your progress to keep track of modifications and ensure quality control throughout the renovation.
Recommended
- DIY Home Improvement Projects: Create Your Vintage Space – OnlyRetro
- Retro Design Trends 2025: Vintage Style Meets Modern Tech – OnlyRetro
- Understanding Retro-Inspired Interior Design: A Comprehensive Guide – OnlyRetro
- Sustainable Lifestyle Tips for Retro Tech Lovers in 2025 – OnlyRetro
- 10 Best Home Gadgets 2025 for Modern Living - Projector Display
- 8 Tip Genius untuk Memaksimumkan Ruang dalam Rumah Kecil Anda! | RumahHQ - Kontraktor Bina & Renovate Rumah