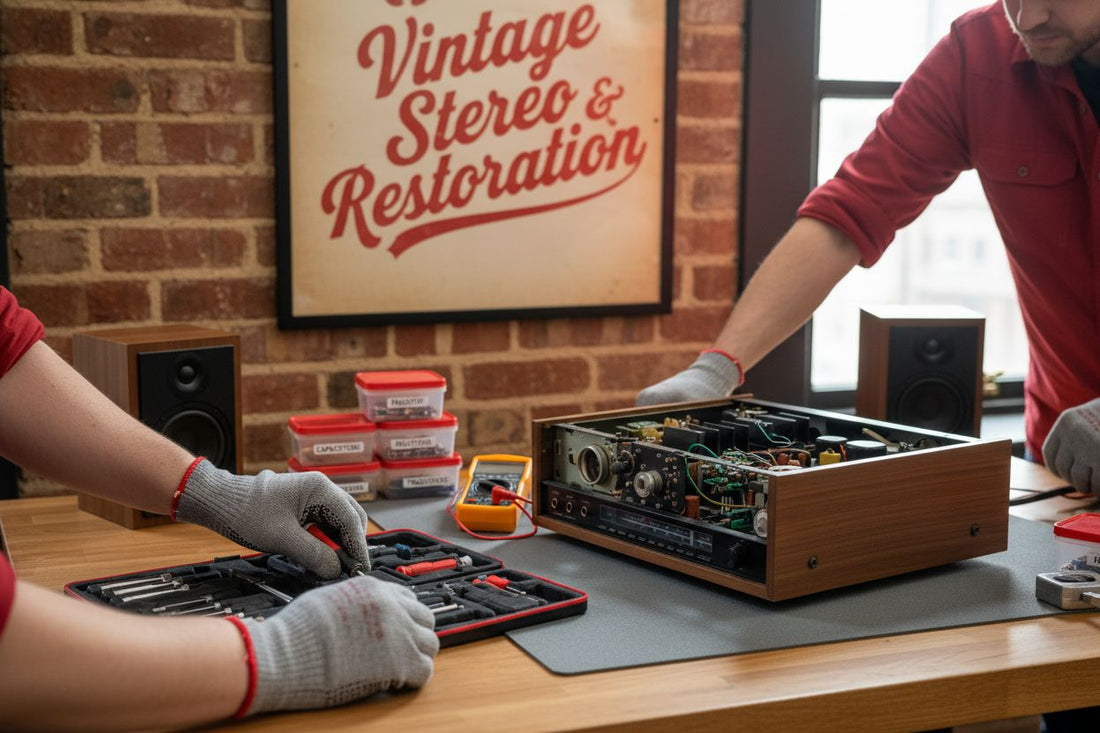
Master Vintage Stereo Restoration: A Step-by-Step Guide
Restoring a vintage stereo turns back the clock on your favourite soundtracks and brings legendary audio gear back to life. Some folks think it is all about nostalgia and fiddling with old knobs, but the real magic lies in the numbers. A well-restored vintage system can last you another 20 years with proper care. The real surprise though is how even the smallest tool or a single missed step can decide if your cherished hi-fi system fills your home with music or sits silent on a dusty shelf.
Table of Contents
- Step 1: Gather The Necessary Tools And Supplies
- Step 2: Disassemble The Stereo System Carefully
- Step 3: Clean And Restore Internal Components
- Step 4: Repair Or Replace Faulty Parts
- Step 5: Reassemble And Test The Stereo System
Quick Summary
| Key Point | Explanation |
|---|---|
| 1. Gather essential tools before beginning | A precise toolkit, including screwdrivers and multimeters, lays the groundwork for successful restoration. Quality tools avoid damaging delicate components. |
| 2. Document every step during disassembly | Photographing and sketching connections can guide you during reassembly and prevent confusion over components’ placements. |
| 3. Clean with care to avoid damage | Use 90% isopropyl alcohol and soft brushes to clean circuit boards and components delicately, ensuring no moisture or residue remains. |
| 4. Evaluate and replace faulty parts carefully | Test each component with a multimeter, prioritizing capacitors for replacement when deterioration is visible to ensure functionality. |
| 5. Reassemble methodically and test thoroughly | Follow your documentation while carefully reinstalling parts and perform initial low-voltage tests to confirm the system’s integrity before full power use. |
Step 1: Gather the Necessary Tools and Supplies
Successful vintage stereo restoration begins with meticulous preparation and collecting the right equipment. Before diving into the restoration process, you will need a carefully curated set of tools that will help you disassemble, clean, repair, and reassemble your cherished audio equipment with precision and care.
Essential Tools for Vintage Stereo Restoration
Your toolkit will serve as the foundation for bringing an old stereo system back to life. Professional restoration requires specific instruments that allow for delicate handling and precise work. Here are the critical tools you will need:
- Precision Screwdriver Set: Multiple sizes and types (flathead, Phillips head) for removing small screws
- Multimeter: For testing electrical connections and component functionality
- Soldering Iron: Preferably with adjustable temperature settings
- Desoldering Pump: To remove and replace old components
- Soft Bristle Brushes: Various sizes for cleaning delicate electronic parts
- Isopropyl Alcohol: High percentage (90% or higher) for cleaning electronic components
- Contact Cleaner: Specialized electronic contact cleaning solution
- Compressed Air: For removing dust from hard-to-reach areas
Beyond these basic tools, your workspace setup is equally important. Choose a well-lit, clean area with a stable work surface where you can spread out components without risk of losing small parts. An anti-static mat is recommended to protect sensitive electronic circuits from potential electrical discharge.
While gathering supplies, understand that vintage stereo restoration requires patience and methodical approach.
The following table summarises the essential tools required for vintage stereo restoration, along with their specific purpose in the process.
| Tool/Material | Purpose |
|---|---|
| Precision Screwdriver Set | Removing/installing small screws without damaging components |
| Multimeter | Testing electrical connections and functionality |
| Soldering Iron | Removing and attaching electronic components |
| Desoldering Pump | Extracting old solder from circuit boards |
| Soft Bristle Brushes | Gently cleaning electronic parts and circuit boards |
| Isopropyl Alcohol (90%+) | Cleaning circuit boards and removing residue |
| Contact Cleaner | Restoring electrical contacts and switches |
| Compressed Air | Blowing dust out from hard-to-reach areas |
Documenting your restoration process is another critical aspect. Keep a notebook or digital camera nearby to photograph each stage of disassembly. This documentation will prove invaluable when reassembling components, especially if the stereo system has complex internal arrangements.
Additionally, source replacement components carefully. Original manufacturer parts are ideal, but compatible modern equivalents can work effectively. Research thoroughly and consider consulting vintage audio forums or specialized restoration communities for guidance on sourcing rare components.
By preparing thoroughly and assembling a comprehensive toolkit, you set the stage for a successful vintage stereo restoration journey. Your preparation will transform a potentially overwhelming project into a manageable and rewarding experience.
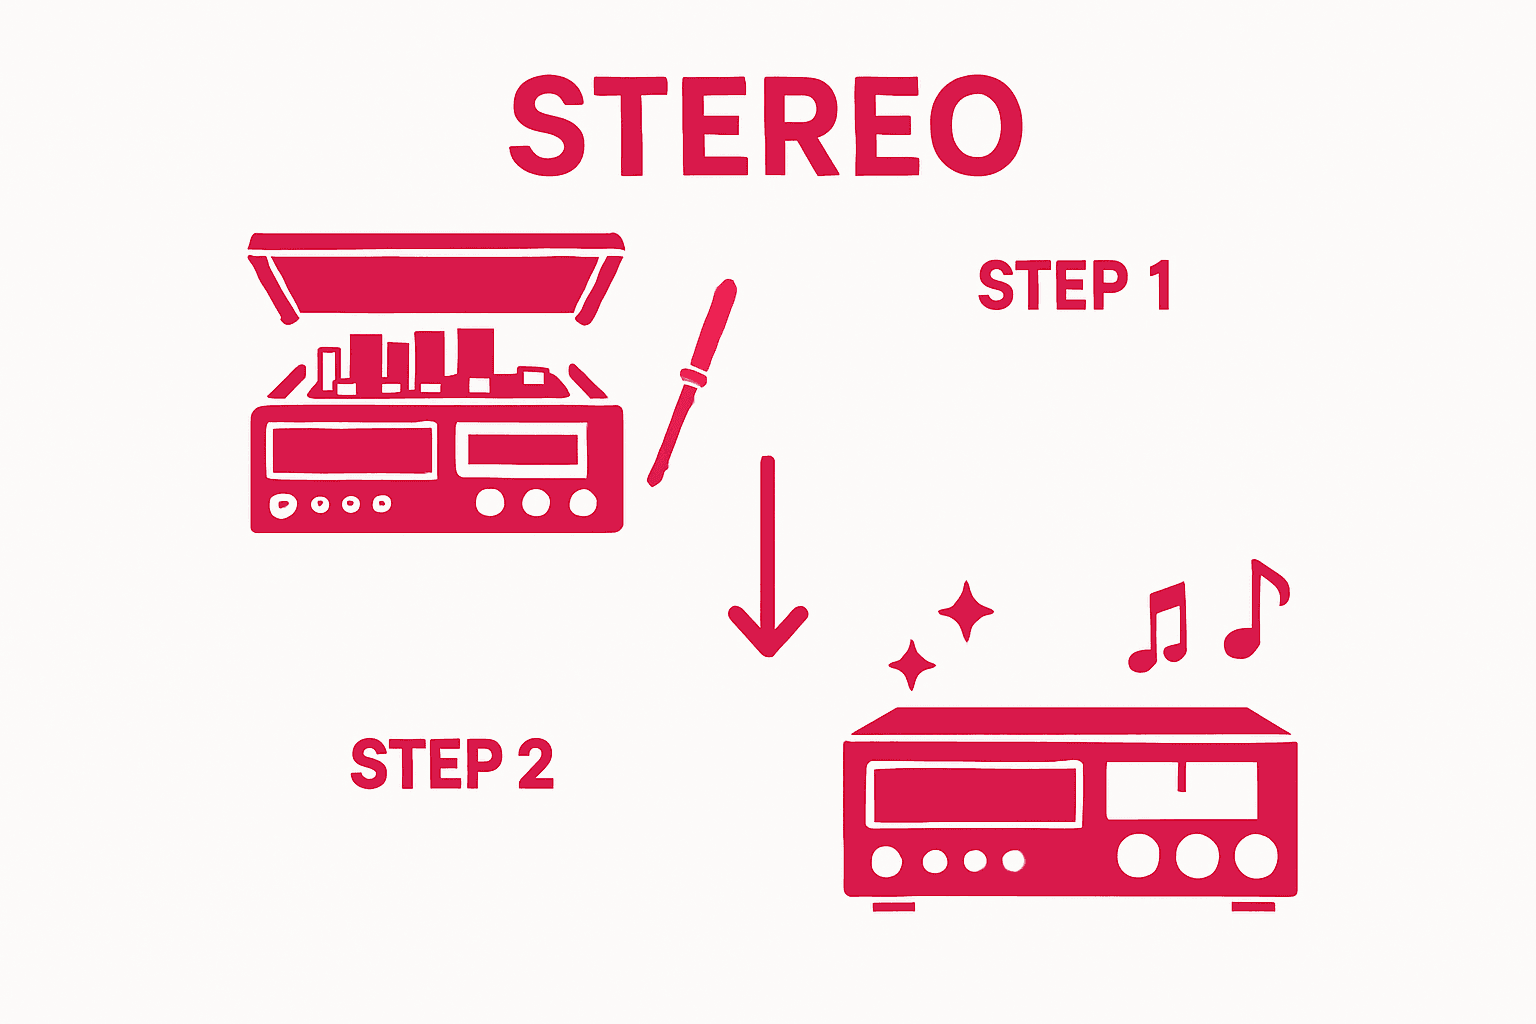
Step 2: Disassemble the Stereo System Carefully
Disassembling a vintage stereo system requires surgical precision and methodical attention to detail. This crucial stage determines the success of your restoration project, transforming a potentially intimidating task into a systematic process of discovery and repair.
Begin by photographing the stereo system from multiple angles before touching anything. These reference images will serve as your roadmap during reassembly, capturing cable connections, component placements, and overall configuration. Use high-resolution photographs that clearly document every connection and placement.
Work on a clean, static-free surface with ample lighting. Ground yourself by using an anti-static wrist strap or touching a metal surface to discharge any potential static electricity that could damage sensitive electronic components. Remove the stereo’s outer casing carefully, typically involving removing screws from the back panel or sides. Keep screws organized by placing them in labeled small containers or magnetic trays to prevent loss.
As you disassemble the system, create a systematic documentation process. Learn more about preserving audio history and understand why meticulous documentation matters. Sketch a diagram or take close-up photographs of each section you disassemble. Pay special attention to:
- Capacitor conditions and potential signs of degradation
- Solder joint integrity
- Wire connection points
- Presence of corrosion or physical damage
- Original component manufacturer markings
When removing electrical components, use needle-nose pliers with insulated handles and work slowly. Gently wiggle components free rather than applying direct pulling force. Some vintage stereo systems have delicate circuit boards that can crack or break under excessive pressure.
According to Audio Restoration Experts, vintage electronics often have fragile internal structures that require extreme care. Watch for brittle wiring insulation, oxidized connections, and potential age-related material fatigue. These observations will guide your subsequent repair strategies.
As you progress through disassembly, organize components systematically. Create separate containers for capacitors, resistors, transistors, and other electronic elements. Label each container with its origin and any specific notes about the component’s condition. This organization prevents confusion during the reconstruction phase and helps you track potential replacement needs.
By the end of this stage, you should have a completely disassembled stereo system, with comprehensive photographic documentation, organized components, and a clear understanding of the system’s current condition. Your methodical approach sets the foundation for successful restoration.
Step 3: Clean and Restore Internal Components
Cleaning and restoring internal components represents the heart of vintage stereo restoration. This delicate process transforms aged, potentially compromised electronics into functional musical masterpieces. Your goal is to carefully remove years of accumulated dust, oxidation, and potential corrosion without causing additional damage to sensitive electronic elements.
Begin by selecting the appropriate cleaning agents and tools.
Learn about safe electronics cleaning techniques to understand the nuanced approach required for vintage equipment. High-percentage isopropyl alcohol (90% or higher) will be your primary cleaning solution, providing excellent degreasing and evaporative properties without leaving residue.
Use soft, lint-free microfiber cloths and soft-bristled brushes for removing dust and grime. Compressed air can help dislodge particles from hard-to-reach areas, but maintain a consistent distance to prevent potential moisture condensation. Work systematically, cleaning one section at a time and allowing each component to dry completely before proceeding.
Pay special attention to circuit boards, which often accumulate the most significant debris. According to Electronic Restoration Experts, vintage circuit boards are particularly vulnerable to cleaning techniques. Approach these areas with extreme caution:
- Use cotton swabs lightly moistened with isopropyl alcohol
- Gently dab rather than scrub delicate connections
- Inspect for signs of corrosion or degraded solder joints
- Check for potential capacitor leakage or component discoloration
Replace any components showing signs of significant wear. Capacitors are typically the first elements to degrade in vintage stereo systems. Look for bulging tops, visible corrosion, or discoloration as indicators that replacement is necessary. When sourcing replacement parts, prioritize components with specifications matching the original manufacturer’s design.
For metal contacts and switches, use specialized electronic contact cleaner. These solutions help remove oxidation and restore electrical conductivity. Apply the cleaner sparingly and allow sufficient time for complete evaporation. Avoid using water-based cleaners, which can introduce moisture and potentially cause long-term damage.
Document your cleaning process through photographs, noting any repairs or replacements. This documentation serves as a valuable reference for future maintenance and helps track the restoration’s progression. By the end of this stage, your stereo’s internal components should appear clean, free of dust and corrosion, and ready for the next phase of restoration.
Here is a checklist table to help you verify that each key stage of your vintage stereo restoration is complete before moving on to the next step.
| Step | Completion Criteria | Recommended Action |
|---|---|---|
| Gather Tools & Supplies | All tools and materials are assembled and workspace set up | Prepare tools, organise workspace |
| Disassemble System | All parts are photographed, labelled, and stored securely | Take photos, keep parts organised |
| Clean & Restore Components | Internal components are free of dust, corrosion, and debris | Clean with isopropyl alcohol and brushes |
| Repair/Replace Faulty Parts | Faulty components identified, tested, and replaced as needed | Test with multimeter, replace as needed |
| Reassemble & Test | System reassembled following documentation, functions as intended | Double-check connections, test thoroughly |
Step 4: Repair or Replace Faulty Parts
Repairing or replacing faulty components is the critical phase that determines whether your vintage stereo will sing again or remain silent. This intricate process requires a combination of technical skill, patience, and strategic decision-making about which parts can be salvaged and which must be replaced entirely.
Systematic component evaluation becomes your primary strategy. Begin by using your multimeter to test each electrical component’s functionality, checking resistance, continuity, and potential voltage drops. Capacitors, resistors, and transistors are often the most common culprits in vintage audio equipment degradation.
Focus initially on capacitors, which are notorious for failing in older stereo systems. Electrolytic capacitors typically have the shortest lifespan and are most likely to require replacement. Look for visual signs of deterioration such as bulging tops, leaking electrolyte, or discoloration. When replacing these components, match the original specifications precisely, paying attention to capacitance, voltage rating, and physical dimensions.
According to Electronic Component Restoration Specialists, vintage stereo systems often require a nuanced approach to parts replacement. Some original components can be carefully refurbished, while others demand complete replacement. Here are critical considerations for your restoration process:
- Verify replacement part compatibility with original circuit design
- Source components from reputable vintage electronics suppliers
- Consider modern equivalent components with similar electrical characteristics
- Preserve original manufacturing markings when possible
- Maintain original circuit board layout during replacement
Soldering represents another crucial skill in this restoration stage. Use a temperature-controlled soldering iron set at the appropriate temperature for electronic work. Clean, precise soldering joints are essential for maintaining electrical integrity. Remove old solder completely using a desoldering pump, ensuring a clean surface before applying new connections.
Transistors and integrated circuits require careful evaluation. Test these components thoroughly before deciding on replacement. Some vintage semiconductors might be difficult to source, necessitating creative problem-solving. Modern equivalents or carefully sourced period-correct replacements can breathe new life into aging audio equipment.
Consider consulting vintage audio restoration forums or professional technicians if you encounter complex repair challenges. These communities often provide invaluable insights into specific restoration techniques for rare or unusual stereo systems.
By the conclusion of this stage, you should have systematically addressed every potentially faulty component. Your stereo’s internal architecture should now represent a careful balance between preserving original design and implementing necessary modern improvements. Each replaced or repaired part brings you closer to reviving your vintage audio treasure.
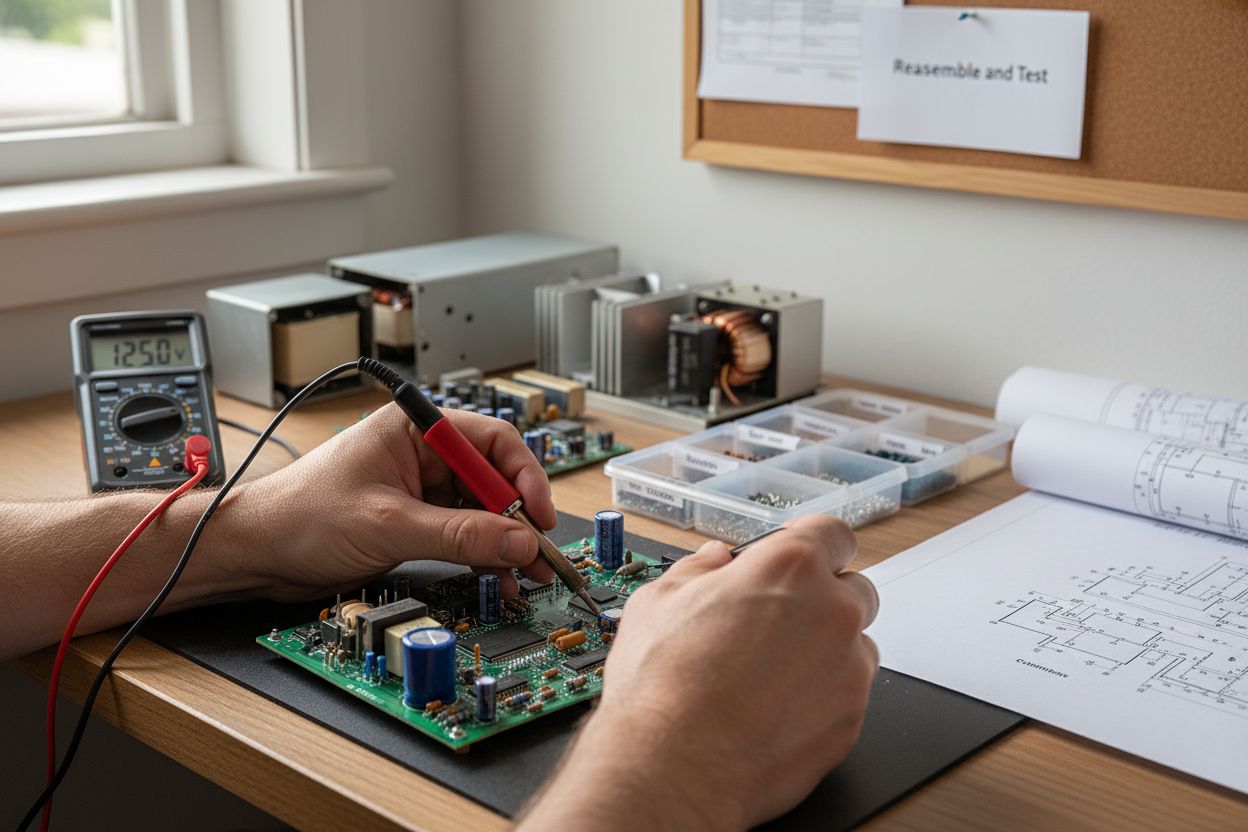
Step 5: Reassemble and Test the Stereo System
Reassembly represents the moment of truth in vintage stereo restoration, where meticulous preparation meets the potential for musical resurrection. This critical stage transforms your carefully restored components back into a functional audio system, requiring precision, patience, and methodical attention to detail.
Reference your earlier documentation becomes paramount during reassembly. Those photographs and diagrams captured during disassembly now serve as your essential roadmap. Lay out all components systematically, ensuring each piece is clean, tested, and ready for reinstallation. Work slowly, allowing yourself sufficient time to align connections precisely and verify each component’s placement.
Begin by reinstalling the core circuit board, carefully aligning mounting points and ensuring proper screw tension. Loose connections can introduce electrical noise or potential system failures. Use original mounting hardware whenever possible, as these components are specifically designed for your vintage stereo’s unique architecture.
According to Audio Restoration Professionals, reconnecting wiring harnesses requires exceptional care. Each wire must be routed exactly as it was originally positioned, preventing potential electrical interference or mechanical stress. Utilize zip ties or original wire routing clips to maintain proper cable management.
Your testing process should be comprehensive and methodical:
- Perform visual inspection of all connections
- Check solder joints for clean, complete contact
- Verify no loose components or dangling wires
- Ensure proper grounding of electrical circuits
- Confirm all mounting screws are correctly secured
Before fully closing the stereo’s chassis, conduct initial electrical testing. Use a multimeter to verify voltage levels and continuity across critical circuit points. This preliminary check can prevent potential catastrophic failures when fully powering the system.
When ready for initial power-up, connect the stereo to a variable voltage transformer. This allows you to gradually increase electrical input, monitoring the system’s response at each stage. Start with low voltage and incrementally raise power, listening carefully for any unusual sounds, observing potential temperature changes, or detecting unexpected electrical behaviors.
Pay close attention to audio quality during initial testing. Expect some initial imperfections, as restored vintage equipment often requires a brief stabilization period. Listen for clarity, balance between channels, and absence of unwanted noise or distortion. Minor adjustments might be necessary to achieve optimal performance.
By the conclusion of this stage, your vintage stereo should be fully reassembled, electrically stable, and producing sound that honors its original design. Your patience, methodical approach, and dedication have transformed a potentially discarded piece of audio history into a functioning musical instrument once more.
Rekindle Your Vintage Sound – Make Restoration a True Success
You have put in the hours delicately disassembling, cleaning, testing, and repairing every part of your cherished vintage stereo. The biggest challenge is not simply finding the right tools or following each restoration step. It is about making sure your hard work delivers authentic sound and timeless style, while protecting your investment for years to come. Many enthusiasts find that restoring classic tech uncovers a craving for accessories and upgrades that blend nostalgia with a touch of modern reliability.
Bring new life and character to your refurbished setup with our retro-inspired gadgets and accessories, handpicked for audio lovers and collectors. Shop the beautifully curated collection at OnlyRetro, where you will find smart tech, audio gear, and vintage-themed essentials designed to complement your classic stereo. Complete your restoration journey with finishing touches that match your passion for sound. Visit OnlyRetro today and transform your restored system into a centrepiece that you can enjoy and show off – the perfect mix of heritage and cutting-edge convenience awaits.
Frequently Asked Questions
What tools do I need for vintage stereo restoration?
You will need a precision screwdriver set, multimeter, soldering iron, desoldering pump, soft bristle brushes, isopropyl alcohol, contact cleaner, and compressed air, among other supplies.
How do I safely disassemble a vintage stereo system?
Begin by photographing the stereo from multiple angles to document connections. Work on a clean, static-free surface, ground yourself to avoid static damage, and carefully remove the outer casing by unscrewing the appropriate screws.
What cleaning solutions are safe for vintage stereo components?
High-percentage isopropyl alcohol (90% or higher) is recommended for cleaning electronics. Use soft, lint-free cloths and brushes to remove dust and grime, and avoid water-based cleaners to prevent moisture damage.
How can I test electrical components during restoration?
Use a multimeter to check resistance, continuity, and potential voltage drops across components. Focus on capacitors, resistors, and transistors, as they are commonly prone to failure in vintage audio equipment.