
Master Your Retro Gaming PC Setup in 2025
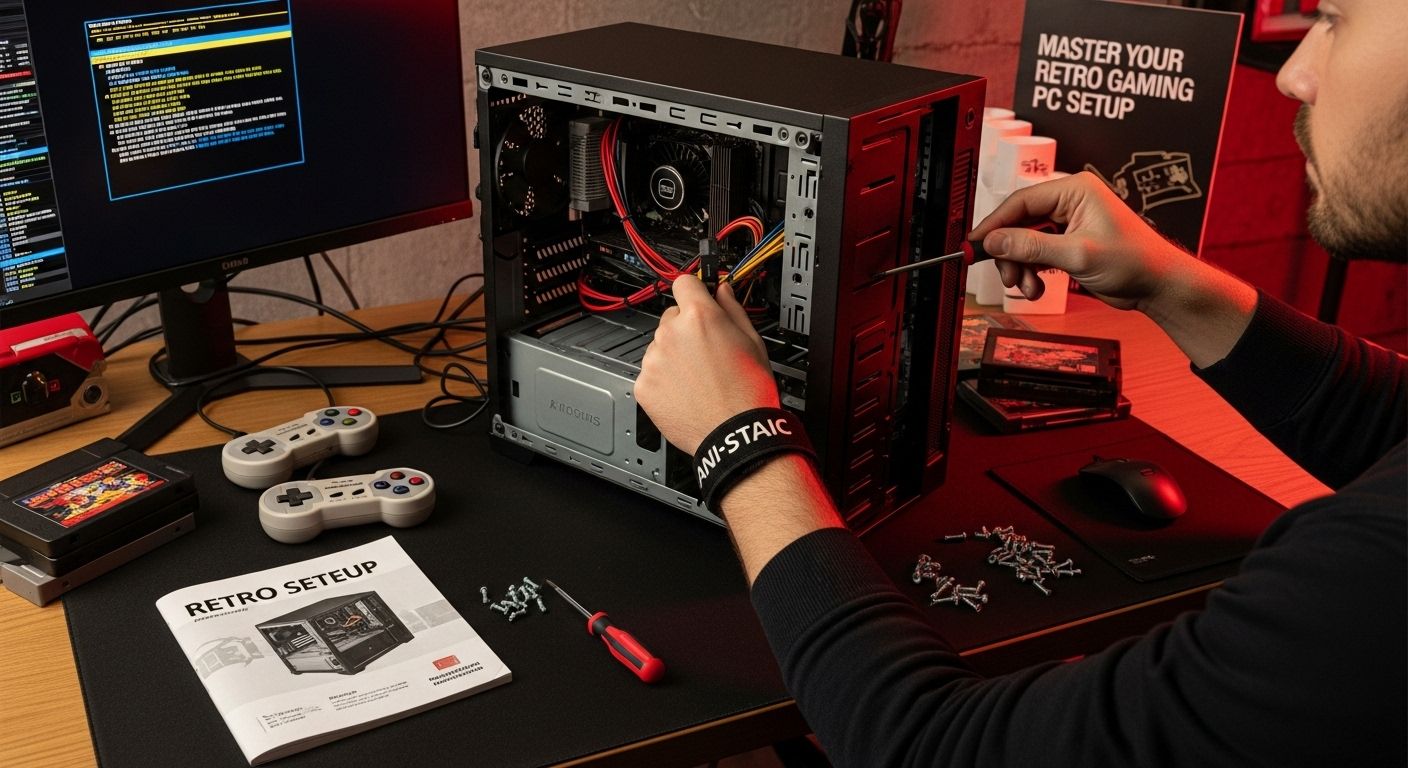
Retro gaming PCs are bringing old-school fun back to life. Some setups can run games from more than 30 different classic consoles on a single machine. Most people think you need loads of cash or rare old hardware lying around to get started. The real secret is that with the right mindset and a bit of planning, building your dream retro gaming setup can be simple, affordable, and way more personal than you expect.
Table of Contents
- Step 1: Determine Your Gaming Needs And Goals
- Step 2: Gather Essential Hardware Components
- Step 3: Install The Operating System And Emulators
- Step 4: Configure Software Settings For Optimal Performance
- Step 5: Test Your Setup With Retro Games
- Step 6: Fine-Tune For A Better Gaming Experience
Quick Summary
| Key Point | Explanation |
|---|---|
| 1. Determine your gaming goals first | Define the types of vintage games you want to play and your desired experience for better setup choices. |
| 2. Select compatible hardware components | Focus on essential parts like a suitable motherboard, processor, RAM, and storage for optimal performance. |
| 3. Install the right OS and emulators | Choose an appropriate operating system and emulators to bridge your hardware with the software for gaming. |
| 4. Fine-tune software settings | Customize performance parameters like audio, video rendering, and input mapping to enhance your gaming experience. |
| 5. Test your setup with various games | Systematically check performance indicators and compatibility by running a range of classic titles. |
Step 1: Determine Your Gaming Needs and Goals
Building a retro gaming PC setup requires a strategic approach that begins with understanding your specific gaming objectives and personal preferences. Before diving into hardware selection, take a moment to reflect on the types of vintage games you want to play and the experience you hope to recreate.
Start by considering the gaming eras and platforms that spark your nostalgia. Are you passionate about classic arcade titles from the 1980s, or do you prefer role-playing games from early console generations? According to research from the University of Minnesota, understanding your specific gaming needs is crucial for creating a tailored computing environment.
Your gaming goals will significantly influence your hardware requirements. Some collectors aim to recreate pixel-perfect experiences with original hardware, while others seek emulation solutions that provide greater flexibility. Determine your primary objectives by asking yourself key questions:
- Do you want an authentic vintage gaming experience?
- Are you interested in preserving game history?
- Do you prefer modern conveniences like save states and enhanced graphics?
Consider the technical complexity you are comfortable managing. Some retro gaming enthusiasts enjoy intricate hardware setups that require extensive technical knowledge, while others prefer more streamlined solutions. Your comfort level with computer configurations will help you choose between building a custom rig or selecting a pre-configured system.
Realistic goal setting is essential. Assess your budget, available space, and time commitment for maintaining your retro gaming PC setup. Some vintage game systems require specialized components and ongoing maintenance, which might not suit everyone’s lifestyle or technical expertise.
By thoroughly understanding your gaming needs and goals, you will create a foundation for a successful retro gaming experience that genuinely resonates with your personal interests and technical capabilities. The next steps will involve translating these objectives into specific hardware and software selections that bring your vintage gaming vision to life.
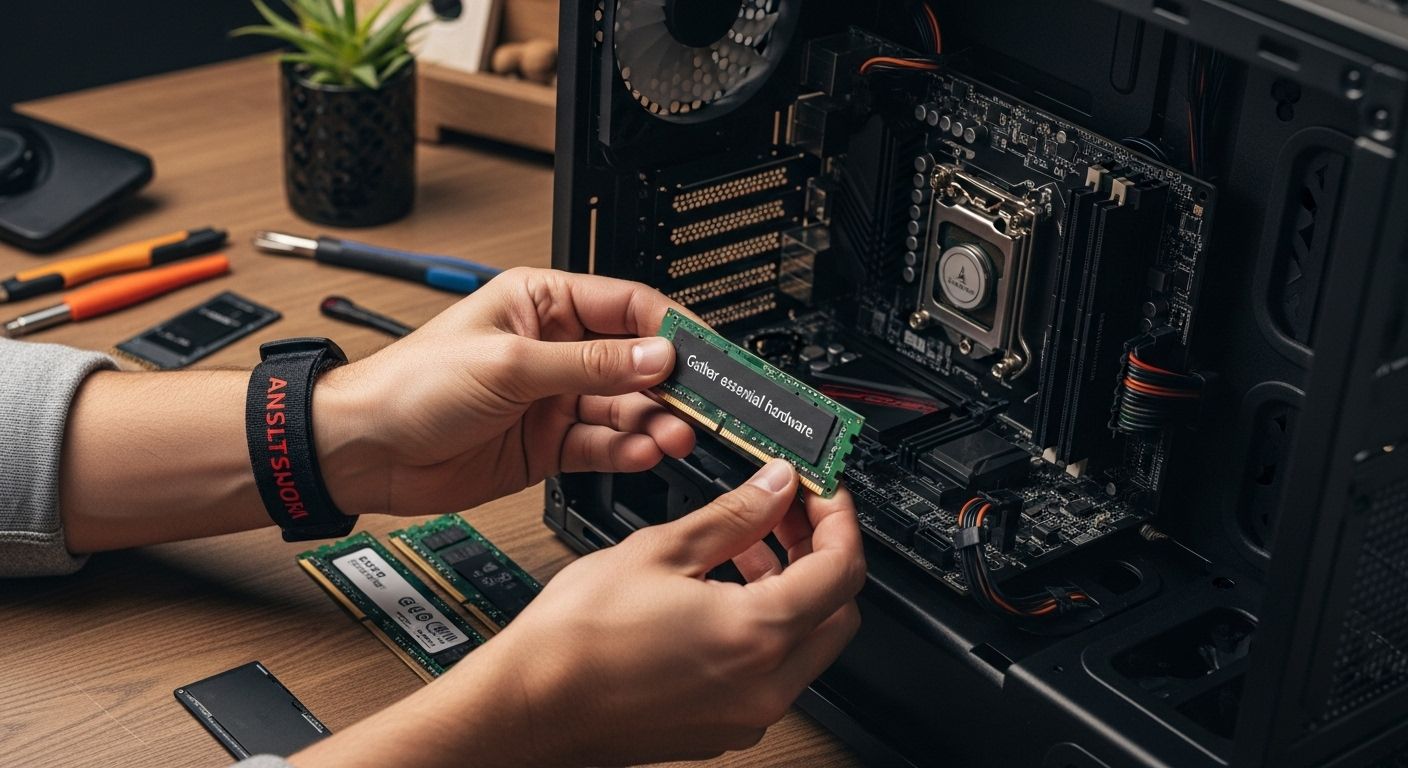
Step 2: Gather Essential Hardware Components
With your gaming goals established, the next crucial phase in creating your retro gaming PC setup involves carefully selecting and gathering the right hardware components. This step transforms your vision into a tangible computing system that can breathe life into classic games.
According to research from the University of Minnesota, understanding each component’s role is fundamental to building a successful gaming machine. Begin by focusing on core components that will form the backbone of your retro gaming experience.
Your primary hardware shopping list should include a motherboard compatible with vintage gaming requirements, a processor that can handle emulation and classic game performance, and sufficient RAM to support smooth gameplay. Look for motherboards with legacy support or expansion slots that accommodate older hardware interfaces. This ensures maximum compatibility with retro gaming systems and provides flexibility for future upgrades.
Memory selection becomes critical when dealing with retro gaming configurations. Aim for at least 8GB of RAM, though 16GB provides more headroom for complex emulation and multitasking. Some vintage game enthusiasts prefer motherboards with multiple RAM slot configurations to allow gradual memory expansion.
Storage solutions require careful consideration. While modern solid-state drives offer lightning-fast performance, retro gaming setups often benefit from a combination of traditional hard drives and SSDs. Traditional drives provide ample space for massive game libraries, while SSDs can significantly reduce game loading times and improve overall system responsiveness.
Consider your power supply unit (PSU) as the system’s lifeblood. Choose a reliable unit with sufficient wattage to support all components, including potential future upgrades. Modular PSUs offer greater cable management flexibility, which becomes increasingly important in compact retro gaming builds.
Grafics cards present an interesting challenge in retro gaming setups. While modern GPUs offer incredible performance, some vintage game enthusiasts prefer specialized graphics cards that more closely mimic original hardware rendering capabilities. Research cards that provide excellent compatibility with emulation software and classic game environments.
Finally, don’t overlook cooling solutions. Vintage hardware configurations can generate significant heat, so invest in quality case fans and potentially a robust CPU cooler to maintain optimal system performance and longevity. Your carefully selected components represent the foundation of an extraordinary retro gaming experience that bridges technological nostalgia with modern computing capabilities.
Step 3: Install the Operating System and Emulators
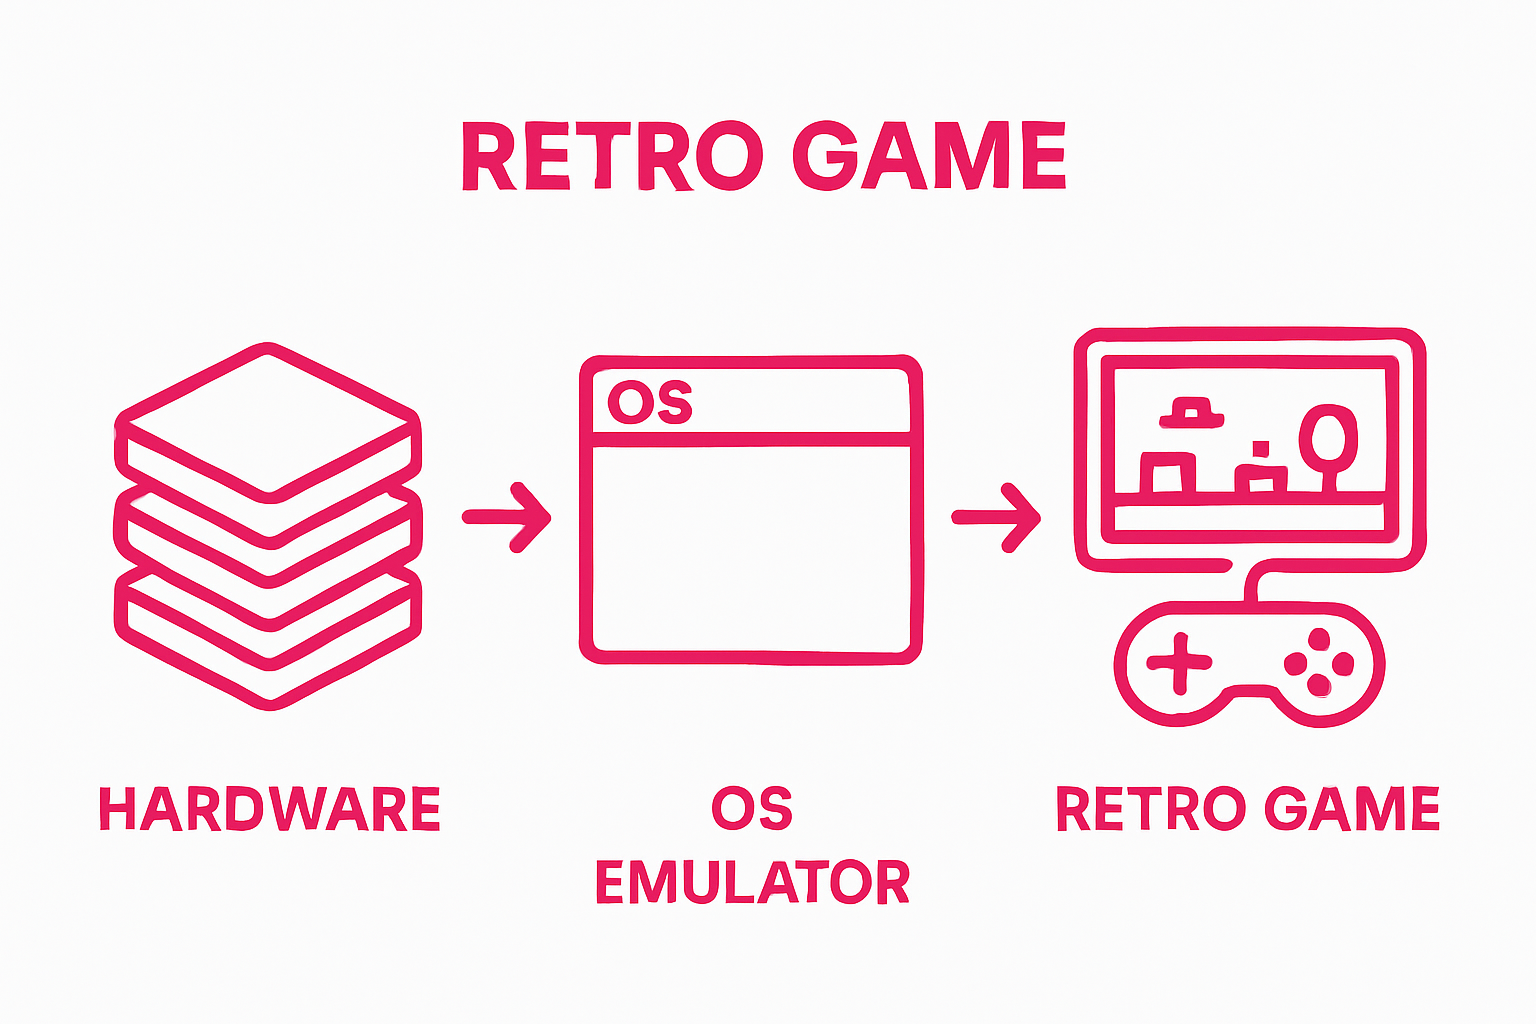
Installing the right operating system and emulators transforms your carefully assembled hardware into a powerful retro gaming PC setup. This critical step bridges your physical components with the software needed to resurrect classic gaming experiences.
According to REG Linux research, selecting an appropriate operating system forms the foundation of your retro gaming environment. Windows remains a popular choice due to its broad compatibility, but Linux distributions specifically designed for gaming offer unique advantages. Consider a lightweight operating system that minimizes resource consumption and maximizes performance for vintage game emulation.
Preparation is key before diving into installation. Ensure you have a bootable USB drive or installation media containing your chosen operating system. Create a backup of any important data, as the installation process might require reformatting your primary storage drive. Windows users can leverage Microsoft’s media creation tool, while Linux enthusiasts might prefer tools like Rufus for creating bootable media.
Once your operating system is installed, focus on emulator selection. Different gaming platforms require specific emulation software.
Comprehensive solutions like RetroArch provide multi-system support, allowing you to run games from various vintage consoles through a single interface. Research compatibility with your target gaming systems to ensure smooth performance.
Emulator configuration demands attention to detail. Adjust video settings to match the original console’s display characteristics. Many emulators offer pixel-perfect rendering modes that recreate the exact visual experience of classic gaming systems. Sound configuration is equally important customize audio settings to capture the authentic sonic signature of vintage games.
Manage your game ROM collection carefully. Ensure you only use ROMs for games you legally own, respecting copyright laws and supporting game developers. Organize your game library systematically within your chosen emulation platform, creating easy-to-navigate folders and using consistent naming conventions.
Verify your setup by testing games from different platforms. Run multiple emulators to confirm smooth performance and compatibility. Check for any graphical glitches, input lag, or sound synchronization issues. Some emulators offer diagnostic tools that can help fine-tune your configuration.
Remember that building a retro gaming PC is an iterative process. Be prepared to experiment with different operating systems, emulators, and configuration settings to achieve your ideal vintage gaming experience. Each adjustment brings you closer to recreating the magic of classic gaming platforms.
Step 4: Configure Software Settings for Optimal Performance
Configuring software settings represents the critical bridge between your hardware and an exceptional retro gaming PC setup. This step transforms your technical components into a responsive, immersive gaming environment that breathes new life into classic titles.
According to research highlighting game performance optimization, fine-tuning software settings can dramatically enhance your gaming experience. Begin by exploring your emulator’s advanced configuration options, paying close attention to video rendering, audio synchronization, and input mapping.
Input configuration demands meticulous attention. Modern controllers often require precise mapping to replicate the original gaming experience. Spend time calibrating each button and directional input to match the vintage console’s original control scheme. Some emulators offer controller profile saving, allowing you to create and store multiple configurations for different game genres.
Graphical settings play a crucial role in recreating authentic retro gaming atmospheres. Experiment with display modes that mimic original hardware limitations. Many emulators provide pixel-perfect rendering options, scanline filters, and aspect ratio corrections that transport you back to the golden age of gaming. Adjust screen resolution and scaling to balance visual fidelity with performance requirements.
Audio configuration requires equally careful consideration. Vintage games often have distinctive sound signatures that define their character. Configure sound latency, sample rates, and audio filters to reproduce the exact sonic experience of classic gaming systems. Some enthusiasts prefer using original sound chips or high-quality emulation plugins to capture the most authentic audio reproduction.
Performance optimization involves balancing visual quality with system resources. Enable performance-boosting features like frame skipping, fast forward, and dynamic clock speed adjustments. These settings help maintain smooth gameplay across different hardware configurations, ensuring your retro gaming PC can handle even the most demanding classic titles.
Network and save state configurations offer additional customization opportunities. Set up robust save mechanisms that allow you to preserve game progress without disrupting the original gaming experience. Many modern emulators include advanced save state management, cloud synchronization, and gameplay recording features that extend the capabilities of vintage game systems.
Remember that configuring your retro gaming environment is an ongoing journey of discovery. Each adjustment brings you closer to recreating the magical gaming experiences of decades past. Patience and experimentation will help you craft a truly personalized vintage gaming setup that celebrates the rich history of interactive entertainment.
Step 5: Test Your Setup with Retro Games
Testing your retro gaming PC setup marks the exhilarating moment where all your careful preparation transforms into a living, breathing gaming experience. This final step validates the technical choices and configurations you have meticulously crafted throughout your build.
According to research on gaming device integration, systematic testing ensures optimal performance and user satisfaction. Begin by selecting a diverse range of games representing different platforms and genres. This approach helps identify potential compatibility issues and performance variations across your emulation environment.
Start with classic titles that represent different technological generations. Choose games from various console platforms like Nintendo Entertainment System, Super Nintendo, Sega Genesis, and early PlayStation titles. Each game will test different aspects of your emulation configuration, from graphical rendering to input responsiveness.
Pay close attention to critical performance indicators during your testing phase. Monitor frame rates, input lag, audio synchronization, and overall system stability. Some emulators provide built-in performance monitoring tools that can help you quantify your setup’s effectiveness. Be prepared to make incremental adjustments to your software and hardware configurations based on these initial test results.
Controller compatibility represents a crucial testing parameter. Verify that your selected controllers accurately reproduce the original gaming experience. Test different input methods, including original vintage controllers, modern USB gamepads, and keyboard configurations. Some emulators offer sophisticated input mapping that allows you to customize control schemes precisely.
Graphical and audio fidelity demand careful evaluation. Compare your emulated games against original hardware recordings to assess the accuracy of your rendering and sound reproduction. Look for pixel-perfect display modes and audio filters that capture the authentic vintage gaming aesthetic. Minor adjustments can dramatically improve the immersive quality of your retro gaming experience.
Create a systematic testing workflow that covers multiple scenarios. Develop a comprehensive checklist that includes:
- Performance stability across different game genres
- Save state functionality
- Controller responsiveness
- Audio and video synchronization
- Compatibility with multiple game ROMs
Remember that building the perfect retro gaming setup is an iterative process. Each testing session provides valuable insights that help you refine your configuration. Embrace the journey of discovery, celebrate the nostalgic moments, and enjoy the rich gaming history you are recreating through your meticulously crafted retro gaming PC.
Step 6: Fine-tune for a Better Gaming Experience
Fine-tuning your retro gaming PC setup transforms a functional system into an extraordinary gaming sanctuary that celebrates the rich history of interactive entertainment. This crucial step elevates your configuration from merely operational to truly exceptional.
According to research on hardware transformation, thoughtful customization can dramatically enhance your gaming experience. Begin by critically analyzing the performance metrics and user experience gathered during your initial testing phase. Look for subtle opportunities to refine your system’s responsiveness, visual fidelity, and overall immersion.
Audio configuration demands particular attention. Vintage games possess unique sonic signatures that define their character. Experiment with advanced sound filters and equalizer settings to recreate the authentic audio experience of classic gaming systems. Some enthusiasts invest in specialized sound cards or external audio interfaces that can more precisely reproduce vintage sound chipsets.
Visual customization offers another realm of potential improvement. Explore advanced display settings that go beyond basic emulation. Some advanced emulators provide shader systems that can simulate everything from classic CRT television scan lines to period-accurate color palettes. These nuanced visual adjustments can transport you back to the golden era of gaming with remarkable authenticity.
Controller mapping represents a critical fine-tuning opportunity. Develop custom input profiles that not only replicate original controller layouts but potentially enhance them. Some emulators allow for sophisticated macro programming, rapid fire configurations, and complex input combinations that can subtly improve gameplay without compromising the original gaming experience.
Performance optimization requires a delicate balance between system resources and game compatibility. Monitor your system’s thermal performance and explore advanced cooling solutions if necessary. Consider lightweight background applications that can provide additional performance monitoring and real-time system diagnostics.
Create a comprehensive fine-tuning checklist to systematically improve your setup:
- Optimize audio reproduction
- Refine visual rendering
- Custom controller mapping
- Thermal management
- Performance monitoring
Remember that building the ultimate retro gaming experience is an ongoing journey of discovery. Each incremental adjustment brings you closer to recreating the magical gaming moments that defined entire generations of interactive entertainment. Embrace the process, celebrate the nuances, and enjoy the rich tapestry of gaming history you are meticulously reconstructing.
Take Your Retro Gaming PC Setup to the Next Level
After fine-tuning your retro gaming PC and facing the frustration of outdated accessories or missing the finishing touch for that authentic vintage vibe, you deserve more than just a basic setup. Many enthusiasts struggle to find retro-inspired technology that both works seamlessly in a modern environment and delivers the nostalgia they remember. The article highlighted pain points like finding compatible devices, adding authentic audio, and elevating your gaming atmosphere. These details can hold you back from truly enjoying every moment of your classic games.
Ready to give your space that genuine retro feel and performance boost? Discover handpicked vintage-themed gadgets, collectible consoles, bold audio accessories, and décor to make your setup stand out. Visit OnlyRetro’s main range for tech products that celebrate your passion. Make your 2025 gaming rig unforgettable by shopping at OnlyRetro today. Your perfect retro gaming experience is waiting here for you – get started now before the next nostalgic wave passes you by.
Frequently Asked Questions
What are the key components needed for a retro gaming PC setup?
To build a retro gaming PC, you’ll need essential components such as a compatible motherboard, a powerful processor, at least 8GB of RAM, suitable storage solutions (a mix of traditional hard drives and SSDs), a reliable power supply unit, and a graphics card that supports emulation effectively.
How do I ensure that my emulation software is configured correctly?
To configure your emulation software, pay attention to video settings, audio synchronization, and input mapping. Many emulators allow for pixel-perfect rendering and offer advanced options to reproduce the visual and audio characteristics of original games.
What operating system is best for retro gaming?
While Windows is widely used due to its broad compatibility, lightweight Linux distributions designed for gaming can also perform exceptionally well, reducing resource consumption and maximizing performance for vintage game emulation.
How can I test the performance of my retro gaming PC setup?
Test the performance of your setup by running a diverse range of games from different platforms and genres. Monitor performance indicators such as frame rates, input lag, and audio synchronization, making adjustments as necessary to improve overall performance.
Recommended
- Retro Brick Creative 3D Stone Brick Decoration Wallpaper Stickers Bedr – OnlyRetro
- CaseMe-013 Multifunctional Retro Frosted Horizontal Flip Leather Case – OnlyRetro
- CaseMe-013 Multifunctional Retro Frosted Horizontal Flip Leather Case – OnlyRetro
- KHAZNEH Retro Texture Horizontal Flip Leather Phone Case, For Samsung – OnlyRetro