How to Tie a Retro Headscarf: Achieve a Classic Look
Retro headscarves are more than just a fashion trend. They throw you straight back to the golden age of glamour, with bold colours and iconic prints that never really go out of style. People often think you need hours and expert skills to tie one properly. But here is the surprise. With the right fabric and a few clever tips, anyone can master a vintage headscarf look in under five minutes.
Table of Contents
- Step 1: Choose Your Retro Headscarf Fabric
- Step 2: Fold The Headscarf For A Classic Look
- Step 3: Position The Headscarf On Your Head
- Step 4: Secure The Headscarf Ties At The Nape
- Step 5: Adjust For Comfort And Style
- Step 6: Verify And Perfect The Final Look
Quick Summary
| Key Point | Explanation |
|---|---|
| 1. Choose quality fabric for comfort | Select fabrics like cotton or silk, as they determine the look and feel of your headscarf and its structural integrity. |
| 2. Fold precisely for style versatility | Create a symmetrical triangular shape when folding, as this serves as the basis for various vintage styles and looks. |
| 3. Position for balanced aesthetics | Ensure the headscarf sits symmetrically on your head, enhancing your overall comfort and framing your face effectively. |
| 4. Secure knots for stability | Use smooth, tension-free knots to keep the headscarf in place, adapting tying methods based on vintage styles you wish to emulate. |
| 5. Adjust for personal comfort | Make fine adjustments to the fabric’s tension and placement, ensuring that the look remains stylish and comfortable throughout the day. |
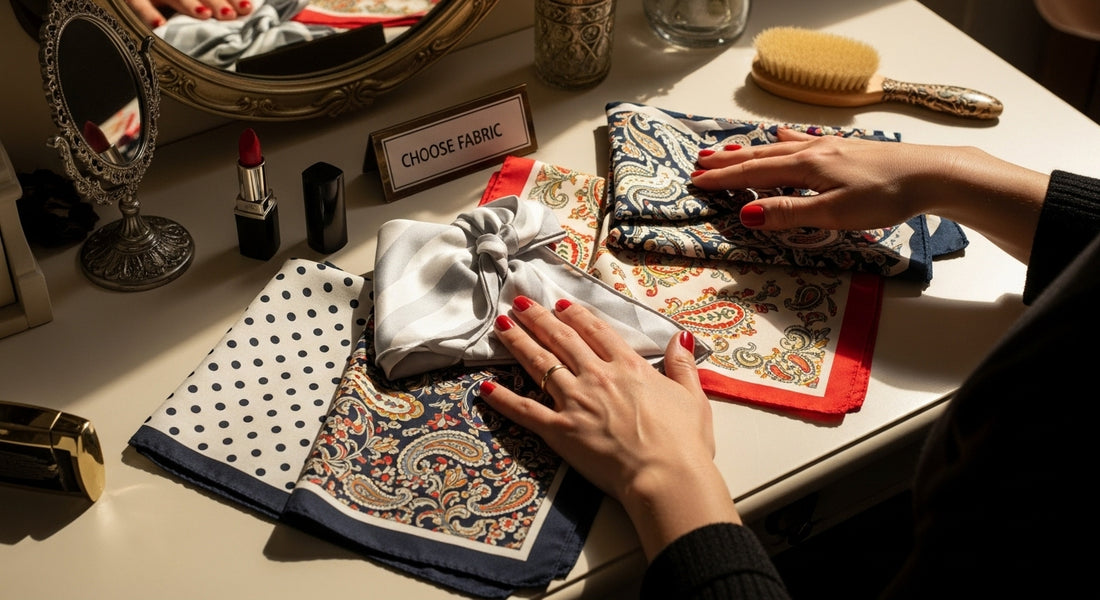
Step 1: Choose Your Retro Headscarf Fabric
Selecting the perfect fabric is crucial when learning how to tie a retro headscarf. Your fabric choice will determine not just the look and feel of your accessory, but also how comfortably and elegantly it sits on your head. Vintage inspired headscarves demand attention to material quality and texture.
Start by exploring classic fabric options that capture the authentic retro aesthetic. Cotton remains the most versatile and beginner friendly material for headscarves. Its natural breathability and ability to hold crisp folds make it ideal for creating structured vintage looks. Lightweight silk offers another elegant alternative, providing a luxurious drape that mimics mid century fashion styles. When selecting your fabric, consider factors like weight, pattern, and how the material will interact with different tying techniques.
Learn more about vintage styling techniques that can complement your headscarf selection. Look for fabrics with classic prints characteristic of different decades: geometric patterns for 1960s mod looks, paisley for bohemian 1970s styles, or polka dots reminiscent of 1950s glamour. Solid colors in bold hues like mustard yellow, teal, or deep burgundy can also create stunning retro statements.
Size matters when choosing your headscarf. Standard vintage dimensions typically range between 21 to 27 inches square, providing enough material to experiment with multiple tying styles. Slightly larger scarves offer more versatility, allowing complex wrapping techniques while smaller scarves work best for simpler knots and minimalist looks.
Below is a summary table of common retro headscarf fabric options, their key features, and the kind of retro styles they work best for.
| Fabric Type | Key Features | Suitable Retro Styles |
|---|---|---|
| Cotton | Breathable, easy to fold, holds shape | 1950s, 1960s, 1970s |
| Lightweight Silk | Luxurious drape, elegant, soft texture | Mid-century, 1950s, glam |
| Large Size Scarf | More wrapping versatility, dramatic | Turban, 60s bohemian, statement |
| Small Size Scarf | Minimalist look, simple knots | Classic 50s and subtle looks |
| Bold Patterns | Geometric, paisley, polka dots | 1950s, 60s mod, 70s boho |
| Solid Colours | Mustard, teal, burgundy, bold impact | All eras, especially statement |
 Fabric weight and stiffness will significantly impact how your headscarf drapes and holds its shape.
Practical tip: Before purchasing, gently stretch and test the fabric’s durability. A quality retro headscarf should maintain its shape, resist easy wrinkling, and withstand repeated styling. Consider purchasing from specialty vintage textile retailers or exploring reproduction fabric lines that authentically capture mid century design sensibilities.
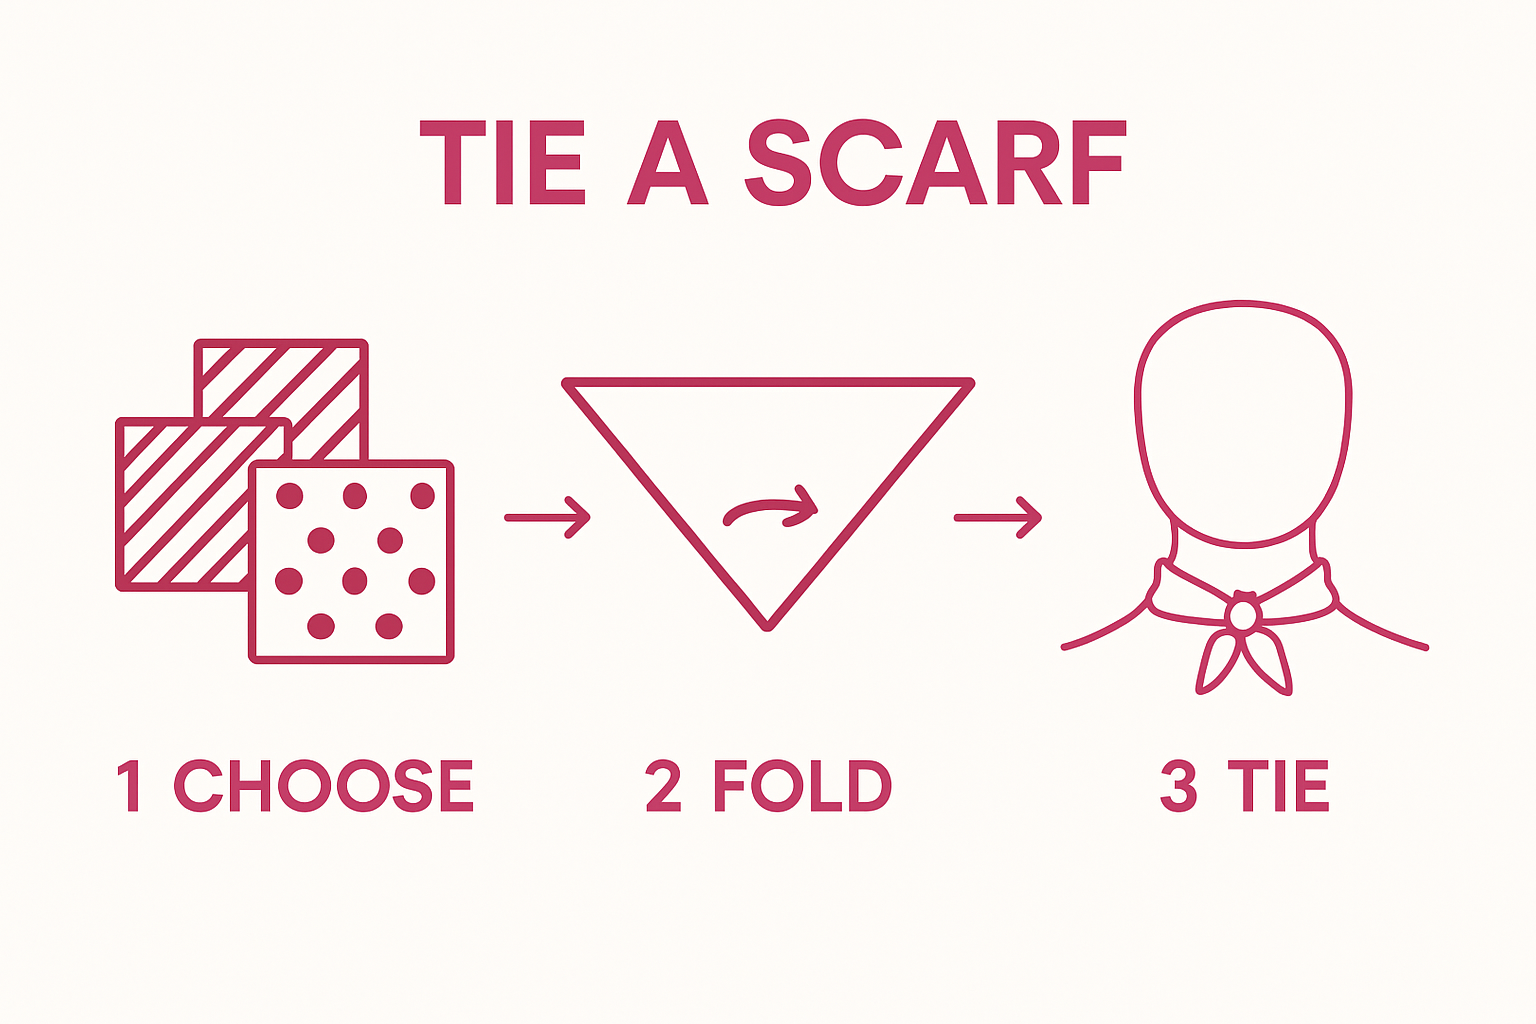
Step 2: Fold the Headscarf for a Classic Look
Folding a headscarf is an art form that transforms a simple piece of fabric into a statement accessory. The goal of this step is to create a crisp, symmetrical base that sets the foundation for multiple vintage styling techniques. Precision matters more than perfection when learning how to tie a retro headscarf.
Begin by spreading your chosen fabric on a flat surface, ensuring it is wrinkle free and smooth. For most classic retro looks, you will want to create a triangular shape by folding the square headscarf diagonally. This fundamental fold provides versatility for numerous styling options, from elegant bandana styles to sophisticated turban inspired wraps. Hold the fabric taut while folding to minimize uneven edges and maintain clean lines.
Explore vintage styling inspiration that can help you understand different folding techniques. The key is achieving consistent fold width, typically around 1 to 2 inches depending on your desired look. Lighter fabrics like silk might require more delicate handling, while cotton scarves offer more structural stability during the folding process. Pro tip: use a flat iron on low heat setting to create crisp edges if your fabric is prone to wrinkling.
Different decades demanded different folding styles. 1950s looks often featured narrower folds creating sleek triangular shapes, while 1960s mod styles embraced wider, more dramatic triangles. Experiment with fold width to capture the specific vintage aesthetic you are aiming to achieve. Some enthusiasts recommend practicing folding techniques on a clean ironing board to ensure maximum precision and symmetry.
Verify your fold by checking three critical elements: edge alignment, fold consistency, and overall triangular shape. Your folded headscarf should look intentional and structured, ready to be transformed into a stunning vintage accessory. Remember that mastering the fold takes practice, so do not get discouraged if your first attempts are not picture perfect.
Step 3: Position the Headscarf on Your Head
Positioning your headscarf is a critical moment that transforms your carefully folded fabric into a stunning vintage accessory. The placement determines the overall aesthetic and comfort of your retro look. Start by gathering your hair back or using a low ponytail to create a smooth base for the headscarf, ensuring minimal bumps or uneven surfaces that could disrupt the classic silhouette.
Hold the triangular fold you created earlier with the longest edge positioned at the nape of your neck. The pointed tip should extend towards your forehead, creating a symmetrical triangular shape that frames your face. Gently pull the two side corners towards the front, ensuring equal tension on both sides. This initial positioning is crucial for achieving a balanced and polished vintage appearance.
Learn more about vintage styling techniques that can help you master the perfect headscarf placement. Different face shapes require slight adjustments to the positioning. Those with round faces might want to position the scarf slightly higher to create a lengthening effect, while those with angular features can experiment with a lower placement to soften their facial lines. The key is to find a position that feels comfortable and looks natural.
Pay special attention to the fabric tension and smoothness. Avoid wrinkles or bunching by using your hands to gently smooth the fabric as you position it. For those with shorter hair or fine textures, consider using bobby pins discreetly placed at the sides to secure the headscarf and prevent slipping. Vintage styling often relied on these small tricks to maintain a perfect look throughout the day.
To verify your positioning, check your reflection from multiple angles. The headscarf should sit symmetrically, with no visible gaps or uneven edges. The point of the triangle should create a gentle point or curve at the center of your forehead, reminiscent of classic 1950s and 1960s styling. A well positioned headscarf should feel secure but not tight, allowing you to move comfortably while maintaining its elegant vintage shape.
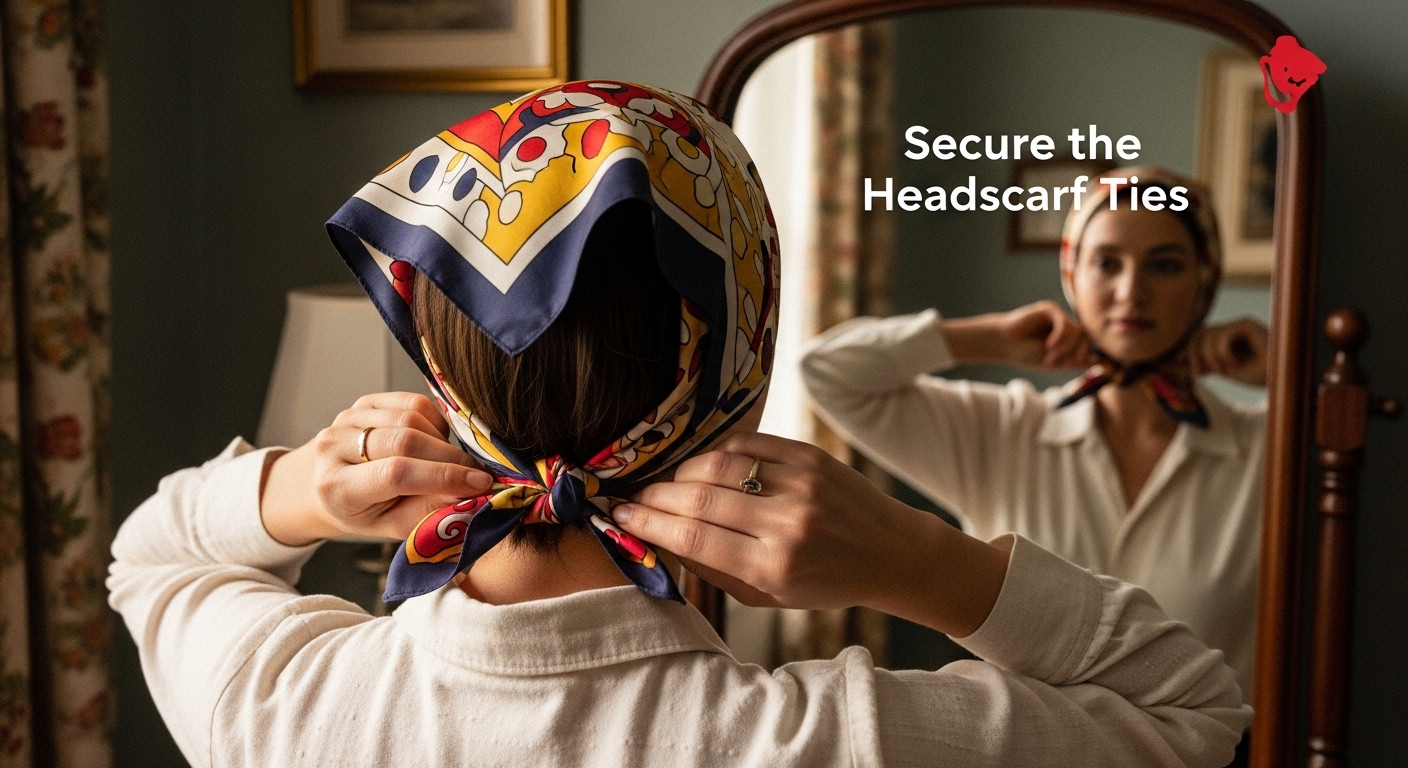
Step 4: Secure the Headscarf Ties at the Nape
Securing your headscarf ties is the final transformative step that determines the overall stability and elegance of your vintage look. Precision in this step ensures your retro accessory remains perfectly positioned throughout the day. Take the two side corners of your triangular fold and bring them towards the back of your head, creating a smooth, tension free crossing point at the nape of your neck.
Gently pull the corners so they sit flat against your head, avoiding any unnecessary bunching or wrinkling. The ideal technique involves creating a neat, flat knot that looks intentional and sophisticated. For those with longer hair, consider tucking the loose ends slightly underneath the scarf to create a clean silhouette. Silk and lightweight cotton fabrics might require extra attention to prevent slipping, so consider using small bobby pins strategically placed to provide additional security.
Explore vintage styling inspiration that can help you perfect your headscarf tying technique. Different decade styles demanded unique approaches to securing headscarves. 1950s looks often featured tight, precise knots at the nape, while 1960s styles embraced a slightly more relaxed approach with softer tie placements. Experiment with subtle variations to find the method that best complements your face shape and personal style.
Practical tips can make a significant difference in achieving a polished look. If your fabric tends to slip, consider using a small amount of hair styling product at the nape to create additional grip. For those with fine or slippery hair textures, a light application of hairspray can help maintain the scarf’s position. Pay attention to the symmetry of your ties, ensuring both sides are equally smooth and create a balanced appearance.
To verify your headscarf is correctly secured, perform a simple movement test. Gently shake your head from side to side and check that the scarf remains in place without excessive shifting. The ties should feel comfortable yet secure, allowing you to move confidently while maintaining the classic vintage aesthetic you have carefully crafted.
Step 5: Adjust for Comfort and Style
The final step in tying a retro headscarf involves fine tuning your look to achieve maximum comfort and authentic vintage appeal. Subtle adjustments can transform a good styling into an exceptional, magazine worthy appearance. Stand in front of a mirror and carefully examine how the headscarf sits, making incremental modifications that enhance both your comfort and visual aesthetic.
Start by checking the fabric tension across your forehead and temples. The scarf should rest smoothly without creating uncomfortable pressure points or unsightly wrinkles. Gently smooth out any minor creases using your fingertips, working from the center outwards to create a seamless, polished look. For those with sensitive skin or fine hair, consider using a thin silk or cotton liner underneath to prevent irritation and maintain the scarf’s pristine positioning.
Explore vintage styling inspiration that can help you understand nuanced styling techniques. Different face shapes and hair textures require personalized adjustments. Those with round faces might want to position the scarf slightly higher to create a lengthening effect, while individuals with angular features can experiment with softer, more relaxed draping techniques. The goal is to create a look that feels both authentic to vintage aesthetics and uniquely personal.
Consider the versatility of your headscarf placement. A slight tilt or asymmetrical adjustment can dramatically change the mood of your outfit from classic 1950s sophistication to free spirited 1960s bohemian chic. Play with the front point of the triangle, allowing it to sit higher or lower on your forehead to create different vintage era impressions. Small bobby pins can be strategically placed to secure any loose edges while maintaining a clean, intentional appearance.
To verify your final look, perform a comprehensive mirror check from multiple angles. Move your head gently to ensure the scarf remains securely positioned. The ideal retro headscarf should feel like a natural extension of your personal style comfortable enough to wear throughout the day, yet structured enough to make a bold vintage statement.
This table presents an overview of each major step in tying a retro headscarf, including what is achieved and any unique considerations mentioned in the article.
| Step | Key Outcome | Special Consideration |
|---|---|---|
| Choose Headscarf Fabric | Selects base for look, comfort, and retro authenticity | Fabric type and size matter |
| Fold for Classic Look | Creates crisp, symmetrical base for styling | Fold width and symmetry |
| Position on Head | Frames face, determines overall style and comfort | Adjust for face shape, use pins |
| Secure Ties at Nape | Provides stability and elegance | Use flat knots, prevent slipping |
| Adjust for Comfort and Style | Personalises fit, maximises comfort and authenticity | Fine tuning for individual shape |
| Verify and Perfect Final Look | Ensures professional, confident finish | Mirror check, minor tweaks |
Step 6: Verify and Perfect the Final Look
The final verification stage transforms your carefully crafted headscarf from a good attempt to a professional vintage styling. Precision in this moment separates amateur efforts from truly stunning retro accessories. Stand confidently in front of a full length mirror, ensuring you have excellent lighting that reveals every subtle detail of your headscarf placement.
Begin by performing a comprehensive visual inspection from multiple angles. Your headscarf should create a symmetrical silhouette that frames your face elegantly, with no unexpected bunching or uneven edges. Check the tension across your forehead and temples, ensuring the fabric sits smoothly without creating uncomfortable creases or awkward folds. The triangular point should align perfectly with your facial structure, creating a harmonious vintage aesthetic that feels both intentional and effortless.
Explore vintage styling inspiration that can help you refine your technique. Pay special attention to the nape of your neck, where the scarf ties should rest flat and smooth, without creating bulky or uneven knots. Movement is the ultimate test of a perfectly tied headscarf. Gently turn your head from side to side, perform a few subtle head movements, and observe how the scarf maintains its position. A well tied headscarf should feel secure yet comfortable, allowing you to move with confidence and grace.
Consider the overall visual impact of your styling. The headscarf should complement your outfit, creating a cohesive vintage look that reflects the specific era you are celebrating. Slight adjustments can dramatically transform the mood from 1950s sophistication to 1960s bohemian chic. Use your fingertips to make microscopic modifications, smoothing out any remaining imperfections and ensuring the fabric drapes exactly as you intend.
The ultimate verification comes from your personal comfort and confidence. A perfectly styled retro headscarf should not only look stunning but also make you feel authentically connected to the vintage aesthetic you are celebrating. Take a moment to appreciate your handiwork, recognizing that mastering this styling technique is an art form that improves with each attempt.
Elevate Your Retro Style With the Perfect Tech Accessories
Perfecting how to tie a retro headscarf is just the beginning of expressing your love for vintage style. The article highlighted how small details, like choosing the right fabric and mastering classic folds, can completely transform your retro look. Yet, don’t let the frustration of incomplete vintage styling hold you back. Many retro enthusiasts struggle to match their beautiful headscarf skills with accessories that truly capture the nostalgic mood. That gap can undermine the overall impact and make it difficult to feel truly at home in your own aesthetic.
OnlyRetro is designed to help you overcome this problem. With our curated range of retro-themed tech products and accessories, you can turn your classic headscarf look into a full lifestyle statement. Explore our unique home decor selections that echo the charm of mid-century style. Or browse our collection of audio gadgets that blend the old-school feel with smart technology. Ready to complete your look and stand out? Visit OnlyRetro now for inspiration and shop our range before your favourite vintage-inspired accessories sell out.
Frequently Asked Questions
What type of fabric is best for a retro headscarf?
Cotton and lightweight silk are ideal choices. Cotton is versatile and breathable, while silk offers a luxurious drape that suits vintage styles.
How do I fold a retro headscarf correctly?
To create a classic look, fold your square scarf diagonally to form a triangle, ensuring clean edges and consistent fold width for versatility in styling.
How do I position the headscarf on my head?
Place the triangular scarf with the longest edge at the nape of your neck and the pointed tip directed towards your forehead. Ensure equal tension on both sides for a balanced look.
What are some tips for securing the ties of a retro headscarf?
Bring the side corners to the back of your head and create a neat knot. For added security, especially with slippery fabrics, use bobby pins or styling products to prevent slipping.